There’s a saying in photography - "Always chase the light."
Golden hour photography is one of the most rewarding times to shoot. That magical window shortly after sunrise and just before sunset bathes everything in warm, soft light that can transform even ordinary scenes into cinematic masterpieces. If you want to take your photos to the next level, learning how to capture golden hour light is essential.
Golden hour photography is about understanding how light interacts with your surroundings. Buildings reflect a richer tone, skin looks naturally radiant, and even landscapes pop with color that feels almost unreal. Learning how to read and use this light can completely change your photos, taking them from flat snapshots to images that feel alive and cinematic. Learning how to capture golden hour light for portraits can completely transform your images, taking them from flat snapshots to pictures that feel alive and cinematic.
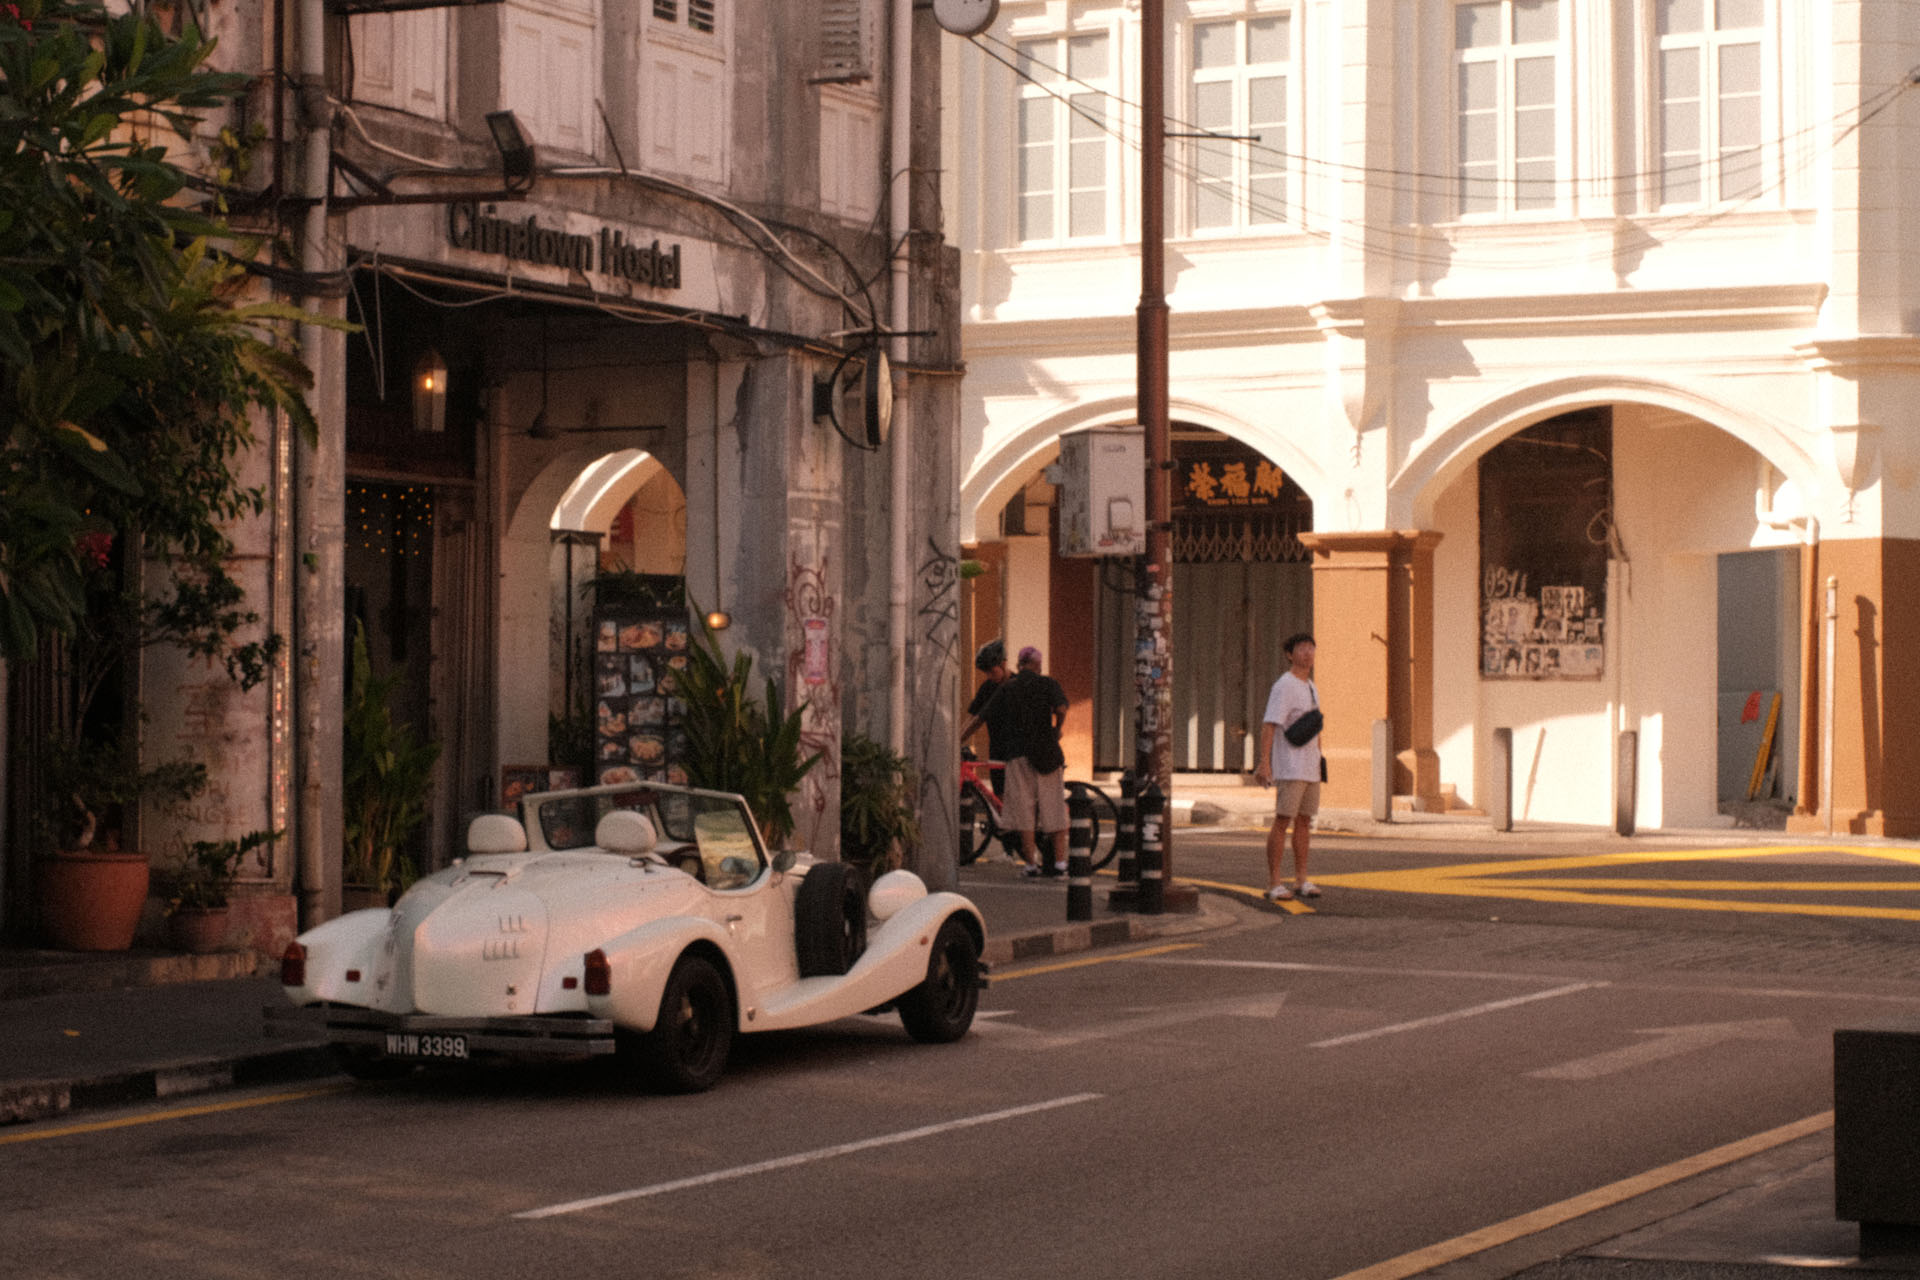
For street photographers, the golden hour offers endless opportunities. Reflections on wet pavement, the way sunlight filters through trees, or the glow bouncing off walls and windows—all of these small details can make a huge difference in your shots. Even if you’re shooting portraits or casual travel photos, knowing how to position your subject and work with the warm tones can create images that feel intimate and full of life.
Capturing golden hour light is about preparation, patience, and timing. Scouting locations, planning your shots, and being ready to click the moment the light hits just right can make all the difference. Once you get the hang of it, you’ll start to notice golden hour opportunities almost everywhere, and chasing that light will become second nature.
Understanding Golden Hour Photography
Golden hour photography happens when the sun is low in the sky, creating long shadows, gentle highlights, and a natural golden glow.
This soft light is flattering for portraits, enhancing skin tones, and works beautifully for early morning magic hour photography, cityscapes, and street photography.
Shooting during golden hour sunrise photography allows you to play with light in ways that midday sun never does, making even simple compositions feel more dramatic and alive.
Why Golden Hour Light is Special

Golden hour light reduces harsh shadows and blown-out highlights, creating a balanced exposure that is easy to work with. It brings out textures and colors in your scene that often get lost in other lighting conditions.
For landscapes, sunset golden hour photos emphasize natural details and depth, while urban photography benefits from warm reflections and dynamic shadows.
Portraits taken during this time appear soft and flattering, and silhouettes or backlit subjects can create striking images that evoke a cinematic feel.
Timing Your Golden Hour Photography

Sunrise and sunset photography occur twice a day, just after sunrise and right before sunset. Sunrise photography often has a calm and serene feel, while sunset photography tends to be richer and warmer, adding more drama to your shots.
The exact timing changes with your location and the season, so using apps like PhotoPills or The Photographer’s Ephemeris can help you plan golden hour shoots precisely. Being prepared allows you to scout your location and experiment with compositions before the light starts shifting.
Gear for Golden Hour Photography

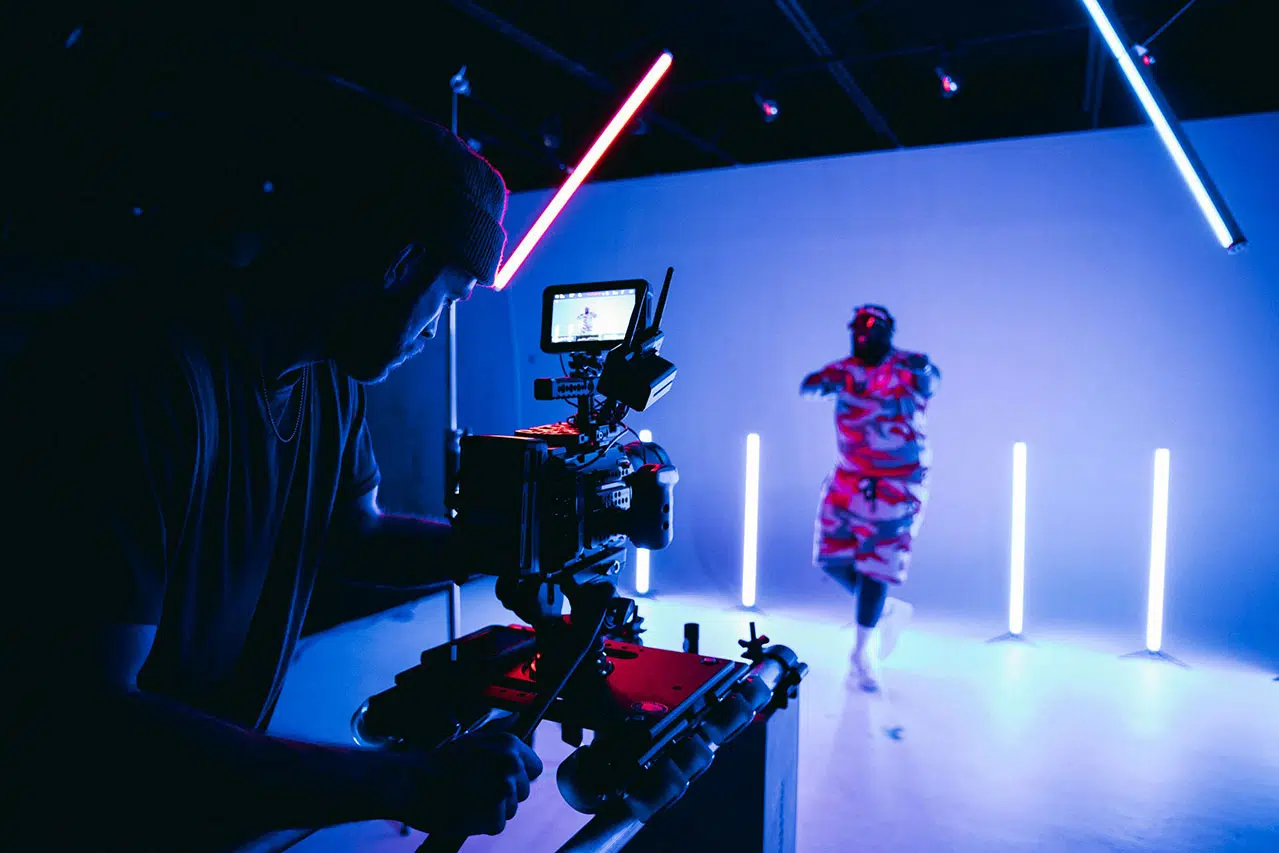
While you can capture golden hour photography images with any camera, having the right gear helps you make the most of this fleeting light. DSLR and mirrorless cameras with wide-aperture lenses are ideal, but smartphones and smaller setups can work too. See our guide to the best compact digital cameras for travel and light setups to find options that suit golden hour photography.
Even smartphones can produce stunning results; see our mobile photography guide for tips on gear, apps, and techniques. Using a tripod is helpful, especially for low-light landscapes or long exposures. Lens hoods reduce flare when shooting toward the sun, and reflectors or diffusers can improve portrait lighting.

If you shoot portraits, using a reflector or diffuser can help you learn how to create catchlights and make portraits pop. For Fujifilm users, our best Fujifilm prime lenses for street and golden hour shoots guide helps you pick lenses that maximize this soft, warm light.
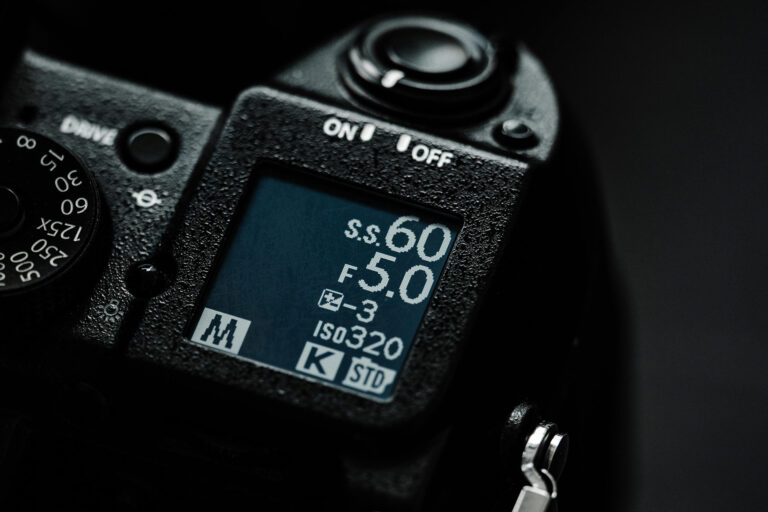
Camera Settings to Try
For portraits, wide apertures like f/1.8 to f/2.8 create a creamy background while keeping subjects sharp. Landscapes benefit from smaller apertures like f/8 to f/16, ensuring both foreground and background remain in focus.
Exposure is crucial; slightly underexposing your shot preserves the warm tones of golden hour lighting. Setting your white balance to daylight or shade helps maintain natural warmth, and experimenting with shutter speed can add creative effects such as motion blur for clouds or water.
If you’re shooting portraits on Fujifilm, check out our guide to the best Fujifilm portrait lenses to get sharp subjects and beautiful background blur.
The golden hour works great, even if you’re shooting with a phone. Modern smartphones handle bright highlights and soft shadows pretty well, so you can lean on that natural glow without worrying too much about noise. Keep your lens clean, tap to lock exposure, and adjust the brightness slightly to avoid blown-out skies.
If you want to learn how to get stronger shots with just your phone, take a look at my mobile photography guide over on ShutterGroove, it breaks down simple steps that help you make the most out of small sensors and changing light.
Composition Tips for Natural Light Photography
Natural light photography composition is all about capturing the mood and depth of a scene. Backlighting can create stunning silhouettes, while including foreground elements adds dimension to landscapes.
Look for reflections in water, natural frames like trees or arches, and play with the rule of thirds to balance your composition. You can build on these ideas by reading our creative composition techniques for street and golden hour photography.
Moving around, experimenting with high or low angles, and keeping an eye on how light interacts with your subject will help you make the most of every moment during golden hour landscape photography tips.
Editing Your Golden Hour Photos

Even small adjustments in post-processing can elevate natural golden light. Slightly increasing warmth enhances the glow, while boosting contrast and gently lifting shadows helps bring out more detail.
Keep things subtle so you don’t lose that soft, rich feel. Working with Lightroom presets makes this even easier, since they give you a consistent starting point before you fine-tune the image.
Apps like Lightroom, Snapseed, or VSCO make it easy to fine-tune your images, whether you shoot with a camera or a smartphone. If you shoot Fujifilm, try our Fujifilm golden hour recipes to boost your warm tones for effortless cinematic looks.


Avoiding Common Mistakes
Missing the perfect golden hour photography window is one of the biggest mistakes because the light changes fast. A few minutes too early or too late can leave your photos looking dull, so planning makes a huge difference.
Another common issue is placing your subject directly against a strong backlight without adjusting exposure, which can wash out skin tones or hide important details. It helps to tilt slightly, shift your angle, or use something nearby to soften the flare.
Over-editing is another trap. Pushing saturation too far or cranking contrast can erase the soft glow that makes golden hour special. Keep your edits gentle so the warmth stays natural. Scouting your location before the shoot also saves time.
When you already know where the light hits, where shadows fall, and how the scene opens up, you can settle into your shot quickly and capture that dreamy glow while it’s still there.
Final Thoughts
Golden hour photography brings out a side of the world that feels calm, warm, and full of character. When you understand how the light moves, how shadows stretch, and how colors shift, your photos start to feel more intentional.
Playing with angles, trying different lenses, and adjusting exposure gives you room to shape the look you want. It’s a time of day that rewards patience and curiosity, and the smallest tweak can change the entire mood of a scene.
You don’t need fancy gear to enjoy this window of light. A DSLR, a mirrorless setup, or your phone can all capture golden hour in their own way.
What matters most is staying aware of the moment and using simple golden hour photography tips to guide your shot. As you keep shooting, you’ll learn how to read the glow, how to work with shadows, and how to frame scenes that feel natural and full of life.
With steady practice, your golden hour photos will start to feel more personal, more expressive, and more in tune with the stories you want to share.