Switching to a new cartridge can feel like rolling the dice, especially when you’ve gotten used to a certain sound signature over time. I recently moved from the Goldring E3 to the Audio-Technica AT-VM95E on my Rega Planar 1. The E3 had served me well with its tight bass and clear mids, but after months of heavy use, the stylus started to wear out. That’s when I ran into one of the most frustrating problems in vinyl playback, imbalanced sound. The right channel suddenly became noticeably quieter than the left, and it completely took the joy out of listening.
At first, I thought it was the turntable. Maybe the tonearm, maybe the Rega Fono Mini A2D phono stage, or even my amplifier. I was close to sending the whole setup for servicing, but instead, I decided to troubleshoot. Swapping the RCA cables left to right confirmed the issue followed the cartridge, not the rest of the system. That ruled out the amp and phono stage, and it also meant the Rega Planar 1 tonearm wasn’t to blame either. The problem was locked inside the cartridge, and that’s when I knew it was time to go for an affordable cartridge upgrade for vinyl playback.
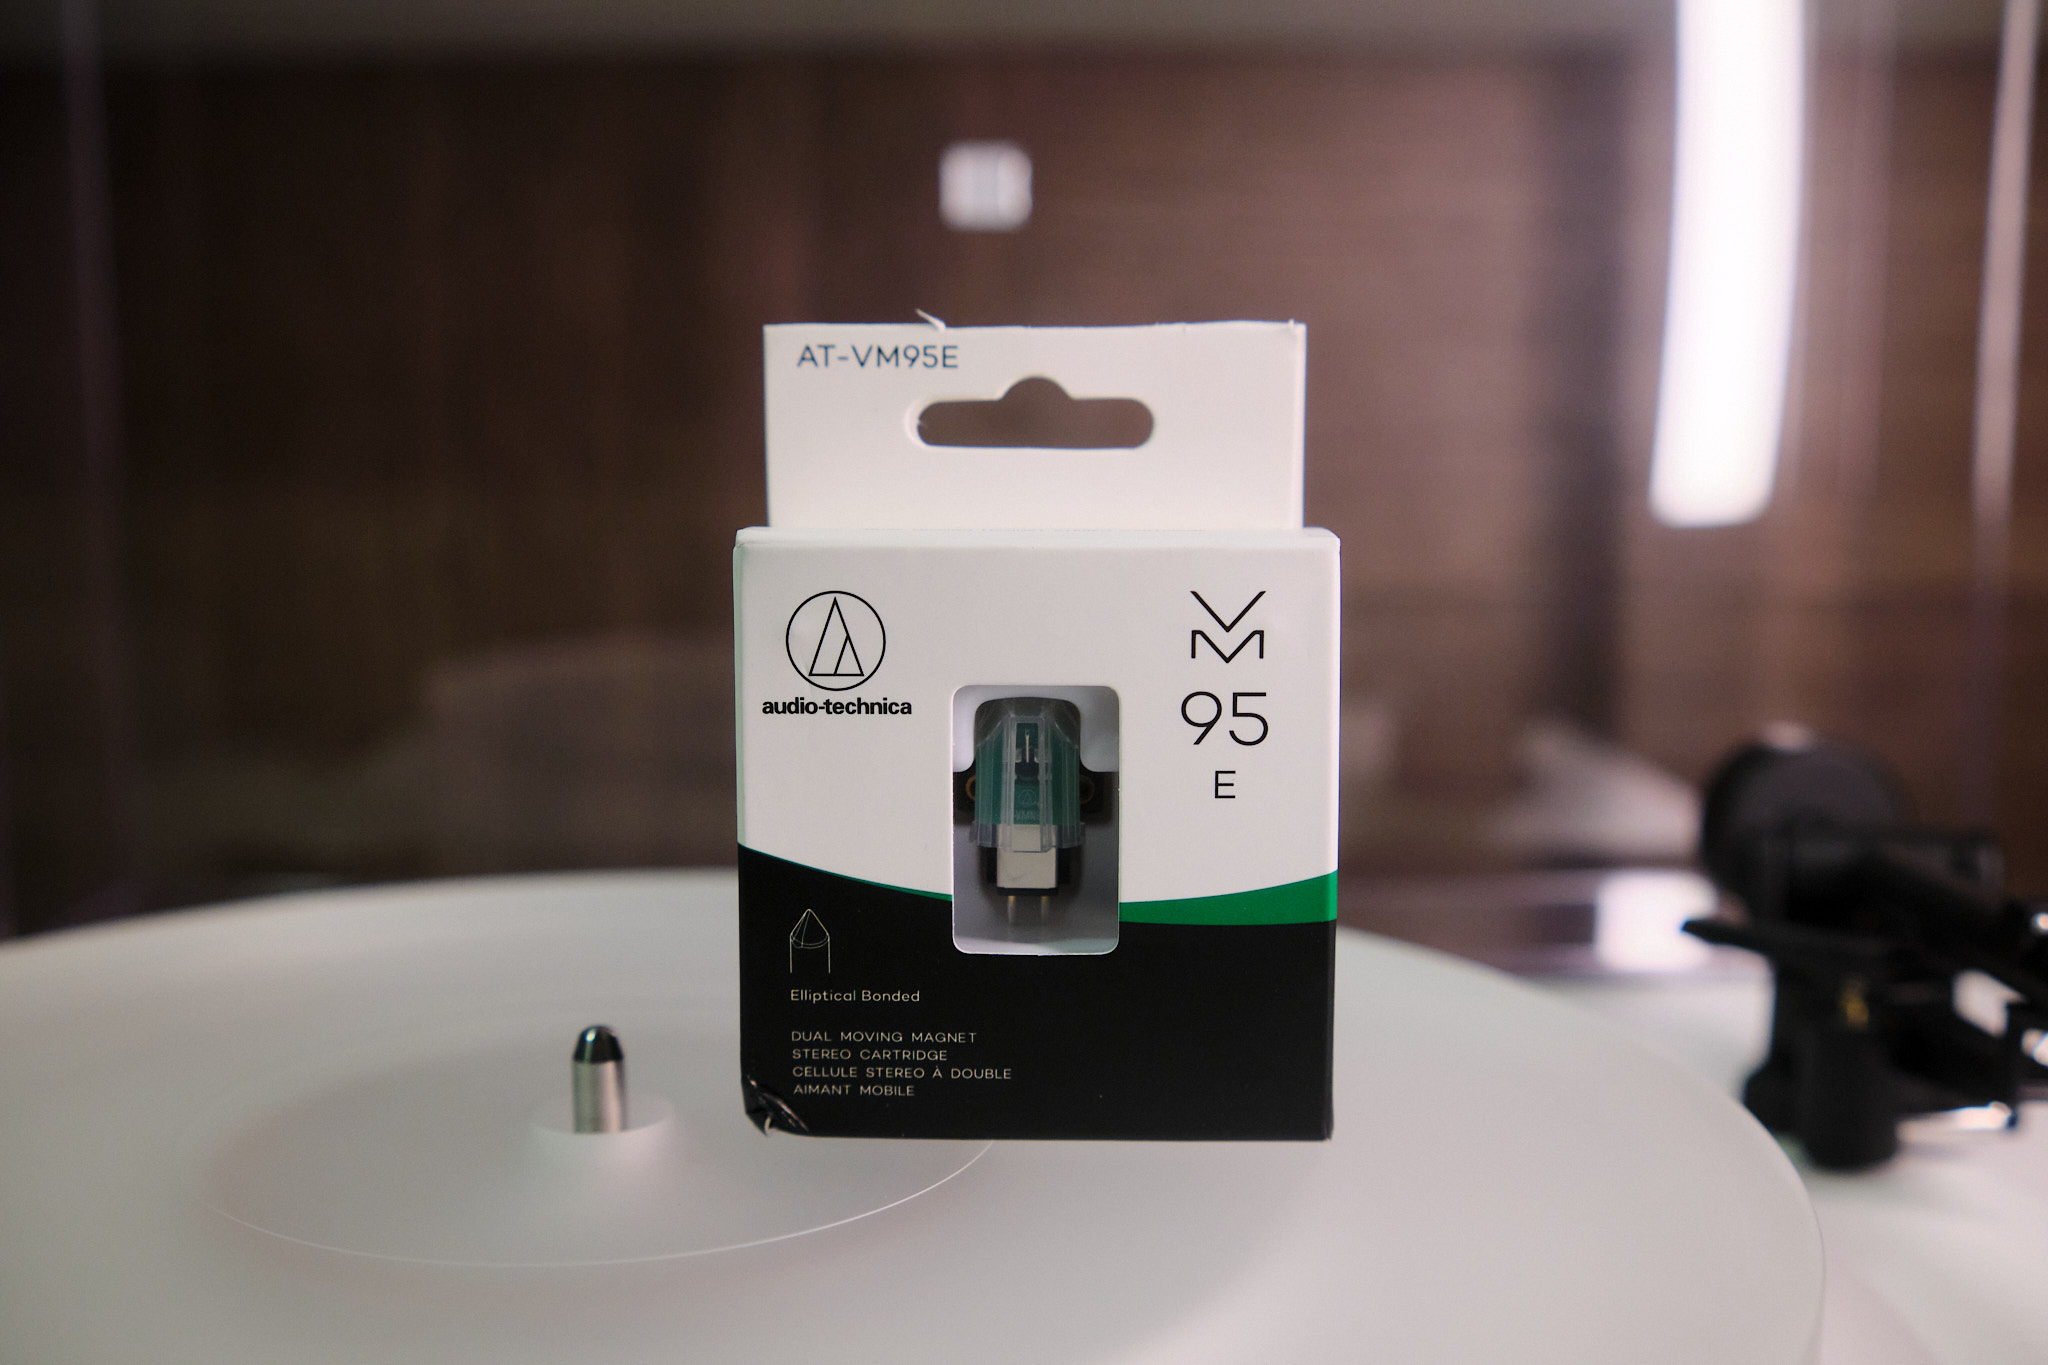
That’s when I started digging into community feedback, and the Audio-Technica VM95E kept popping up as a solid recommendation. A lot of vinyl fans call it one of the best budget cartridges for anyone starting out. It comes with a bonded elliptical stylus, runs smoothly at 2.0 grams of tracking force, and has an easy upgrade path if you ever want to move up to the VM95ML or other styli in the same line.
The best part? It costs about half of what I paid for the Goldring E3. For me, it felt like a no-brainer—affordable, reliable, and a way to bring back that clean, balanced sound I was missing.
From Goldring E3 to Audio-Technica AT-VM95E
My first experience with the Goldring E3 was a good one. It delivered a tight and punchy bass, a smooth midrange, and a lively top end that made records sound full of energy. For a while, I was more than happy with its performance on my Rega Planar 1 turntable. But as the stylus wore out, the problems started creeping in. The right speaker began to play noticeably quieter than the left, which made every listening session frustrating.
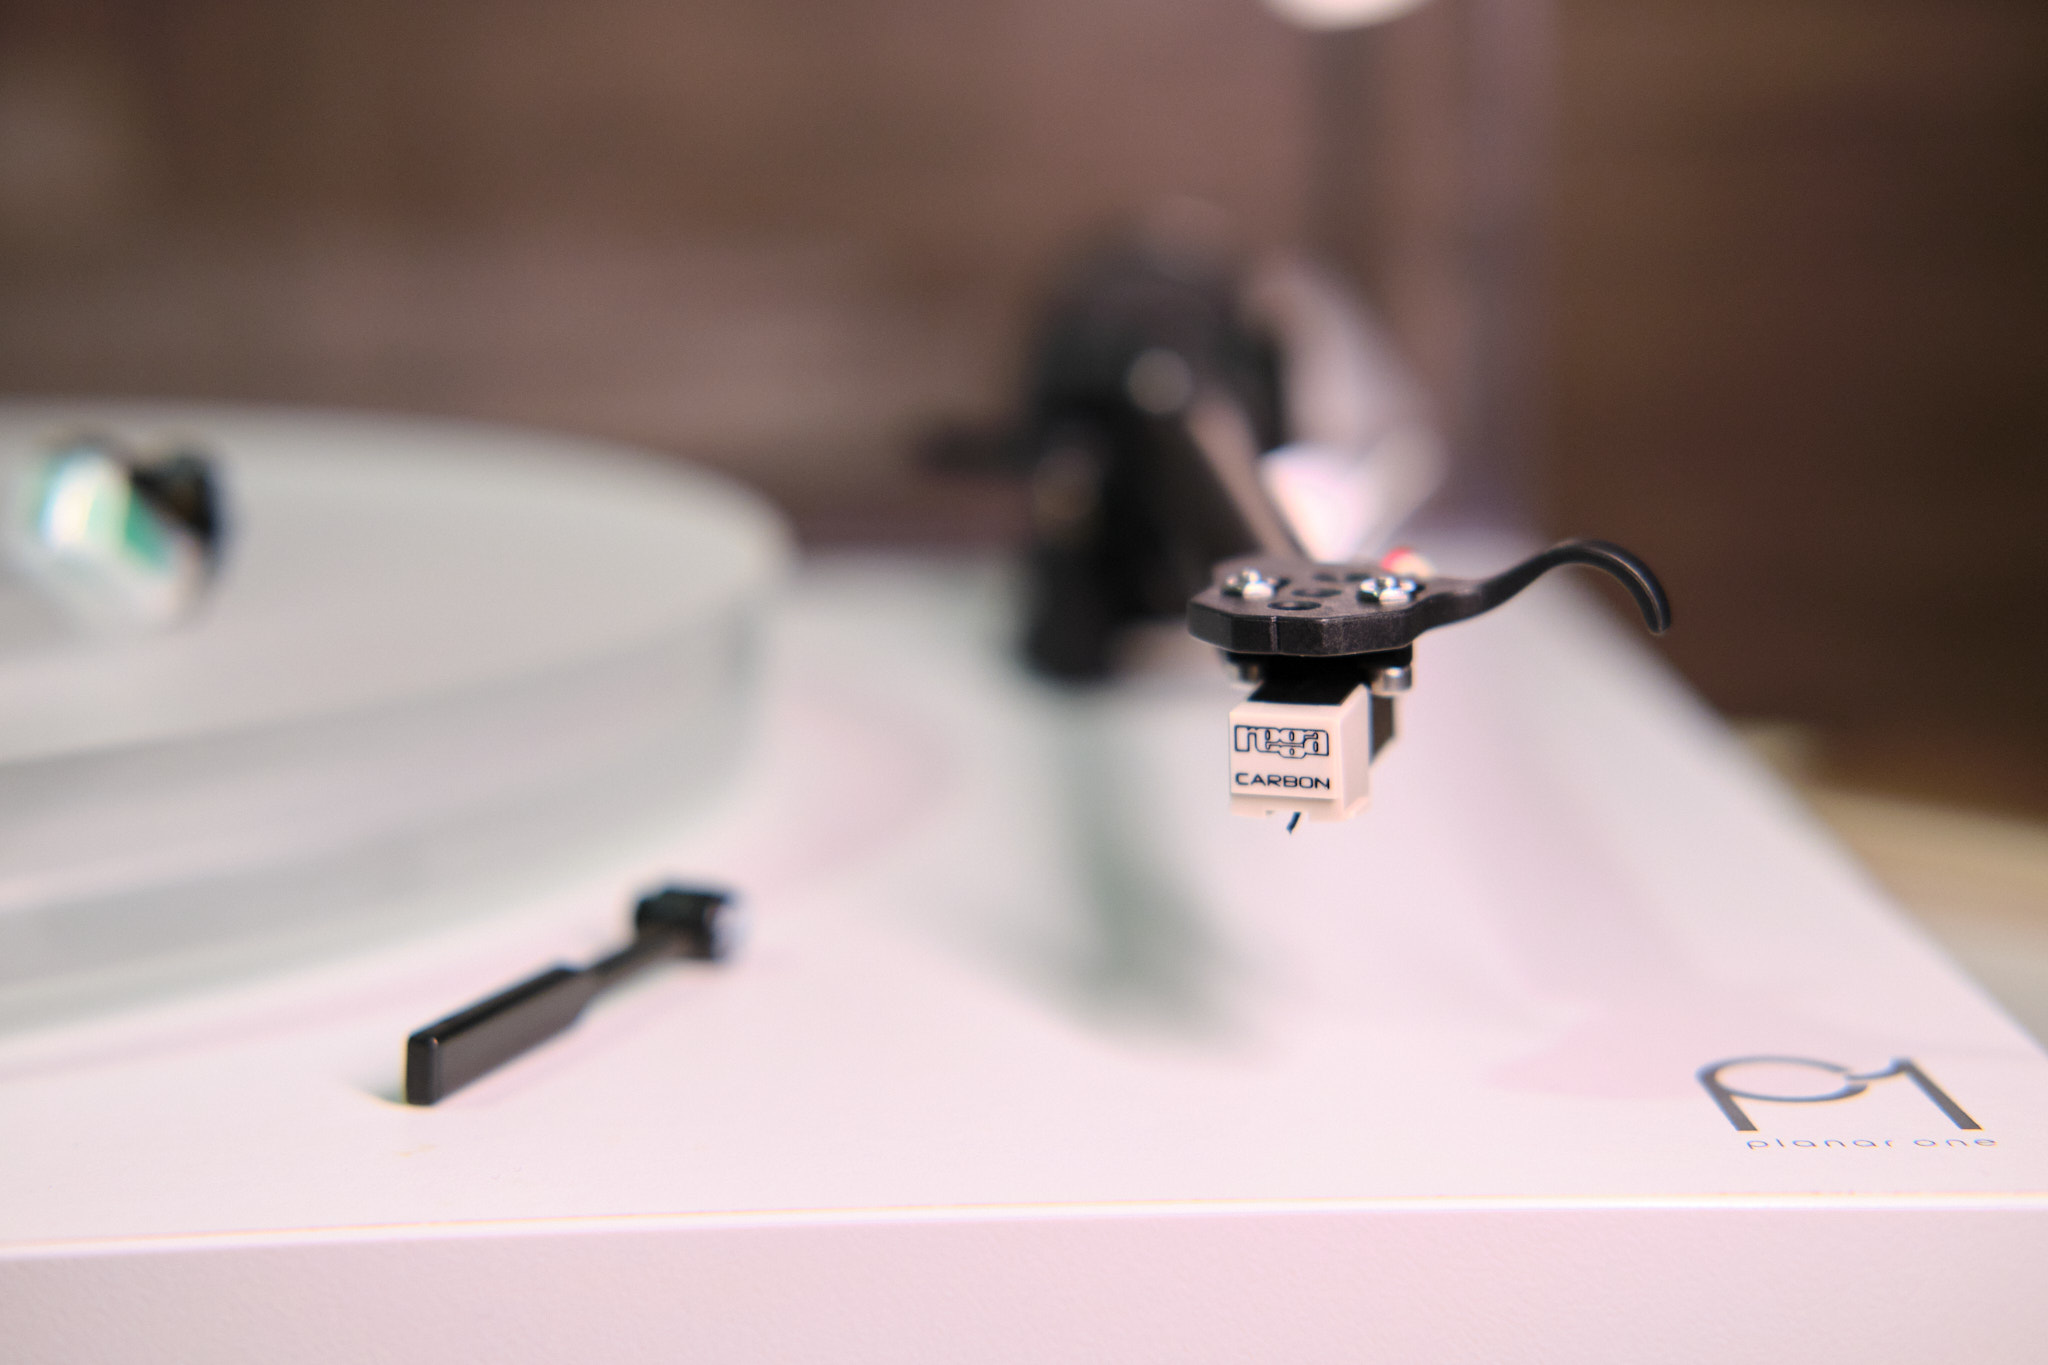
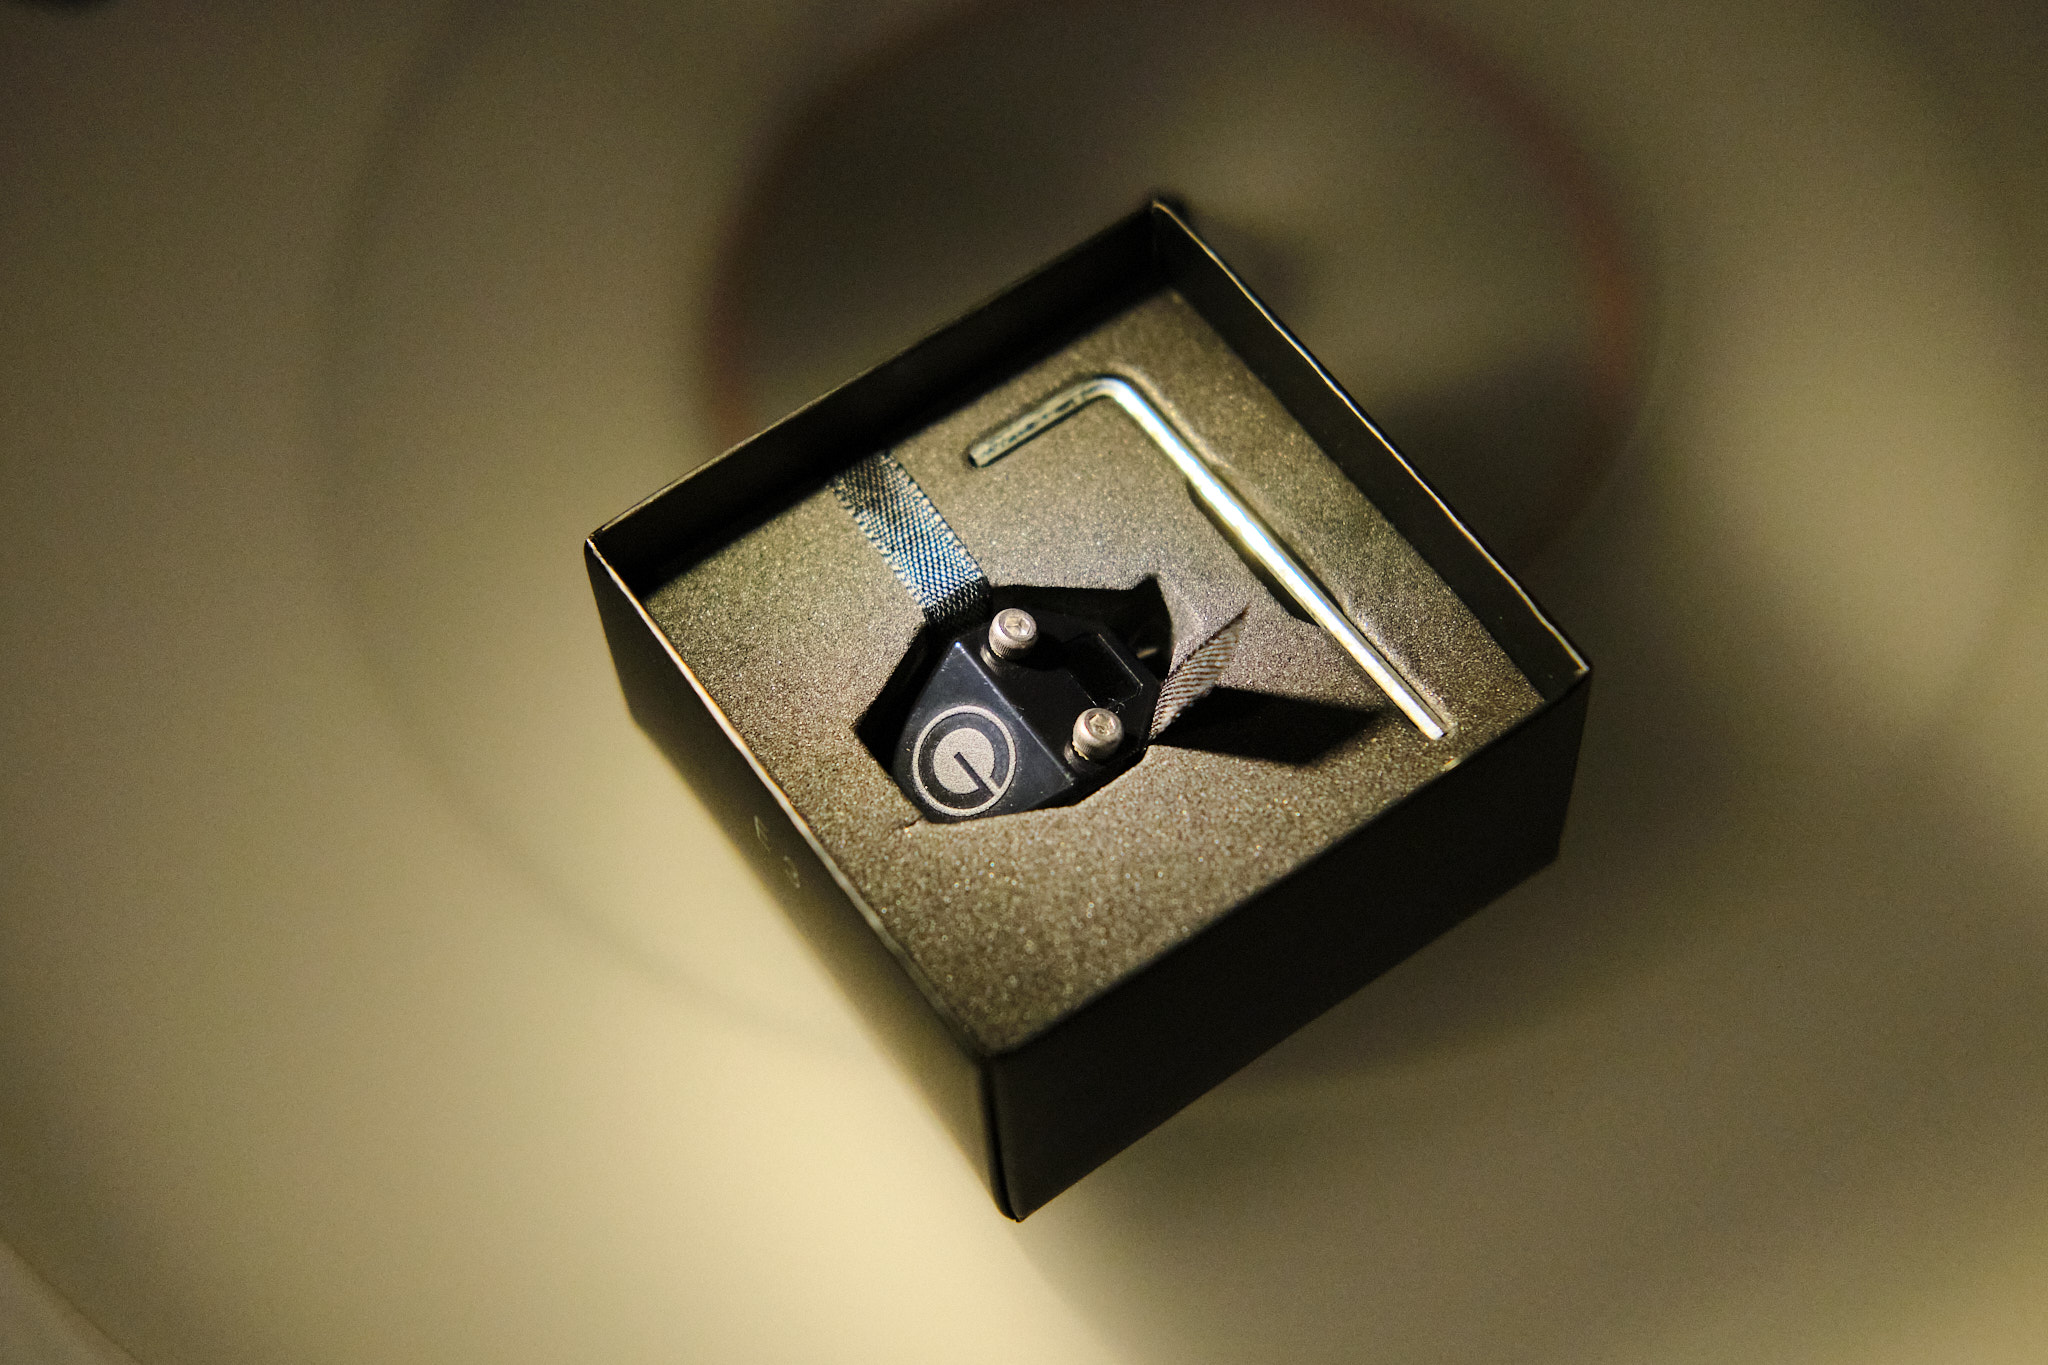
To be sure, I swapped the RCA cables left and right, and the imbalance followed. That sealed it—the cartridge was at fault. At that point, I was convinced the Goldring E3’s stylus had finally worn out. To test things further, I dropped the stock Rega Carbon back on—the little rebranded Audio-Technica AT91 that ships with the Planar 1. Instantly, the sound was balanced again.
For a brief moment, I genuinely thought something was wrong with my hearing. I even considered whether I needed an earwax cleanup and was this close to booking a doctor’s appointment. Thankfully, it was just the cartridge messing with me.
And here’s the thing—the E3 costs almost twice as much as Audio-Technica’s entry-level VM95E. Sure, it’s built with a bit more finesse, but the VM95E lineup hits that sweet spot of performance and affordability. It’s often praised on forums as one of the best budget cartridges for beginners, with a forgiving sound and the bonus of being upgradeable to better styli in the same family. For me, it wasn’t just about cutting costs—it was about getting back to a balanced, consistent soundstage without the frustration.
Why I Chose the AT-VM95E
When I first started researching replacements, my eyes were set on the Audio-Technica AT-VM95ML, which uses a microline stylus. The ML is well-regarded for its ability to track grooves with incredible accuracy and pull out more detail from vinyl records. But at nearly double the cost, it just wasn’t realistic for my budget at the time. That’s why I decided to go with the green Audio-Technica AT-VM95E cartridge.
One of the biggest strengths of the AT-VM95 series is its modular design. You don’t need to buy an entirely new cartridge body every time you want better performance. Instead, you can simply upgrade the stylus. This makes the AT-VM95E upgrade path a fantastic option for vinyl enthusiasts who want to start with something affordable now, while keeping the door open for future upgrades. If you eventually want more refinement, you can just swap in the AT-VM95ML (microline stylus) or even the AT-VM95SH (Shibata stylus) without changing the cartridge body. That flexibility stood out to me.
I also briefly considered the Audio-Technica AT3600LE, which comes with an elliptical stylus and is often recommended as a great entry-level option. Since it’s compatible with many Rega headshells, it seemed like a possibility. But I wasn’t completely sure about the fit, and I didn’t want to risk compatibility issues down the line. In the end, going with the full AT-VM95E cartridge felt like the safest move.
Looking ahead, this choice gives me peace of mind. Not only does the AT-VM95E perform well as it is, but I know I can easily upgrade the stylus when my budget allows, making it one of the best affordable cartridge upgrades for vinyl systems.
Read more: Beginner’s Guide to Vinyl Hi-Fi Setup
Audio-Technica AT-VM95E Cartridge Setup and Alignment on the Rega Planar 1
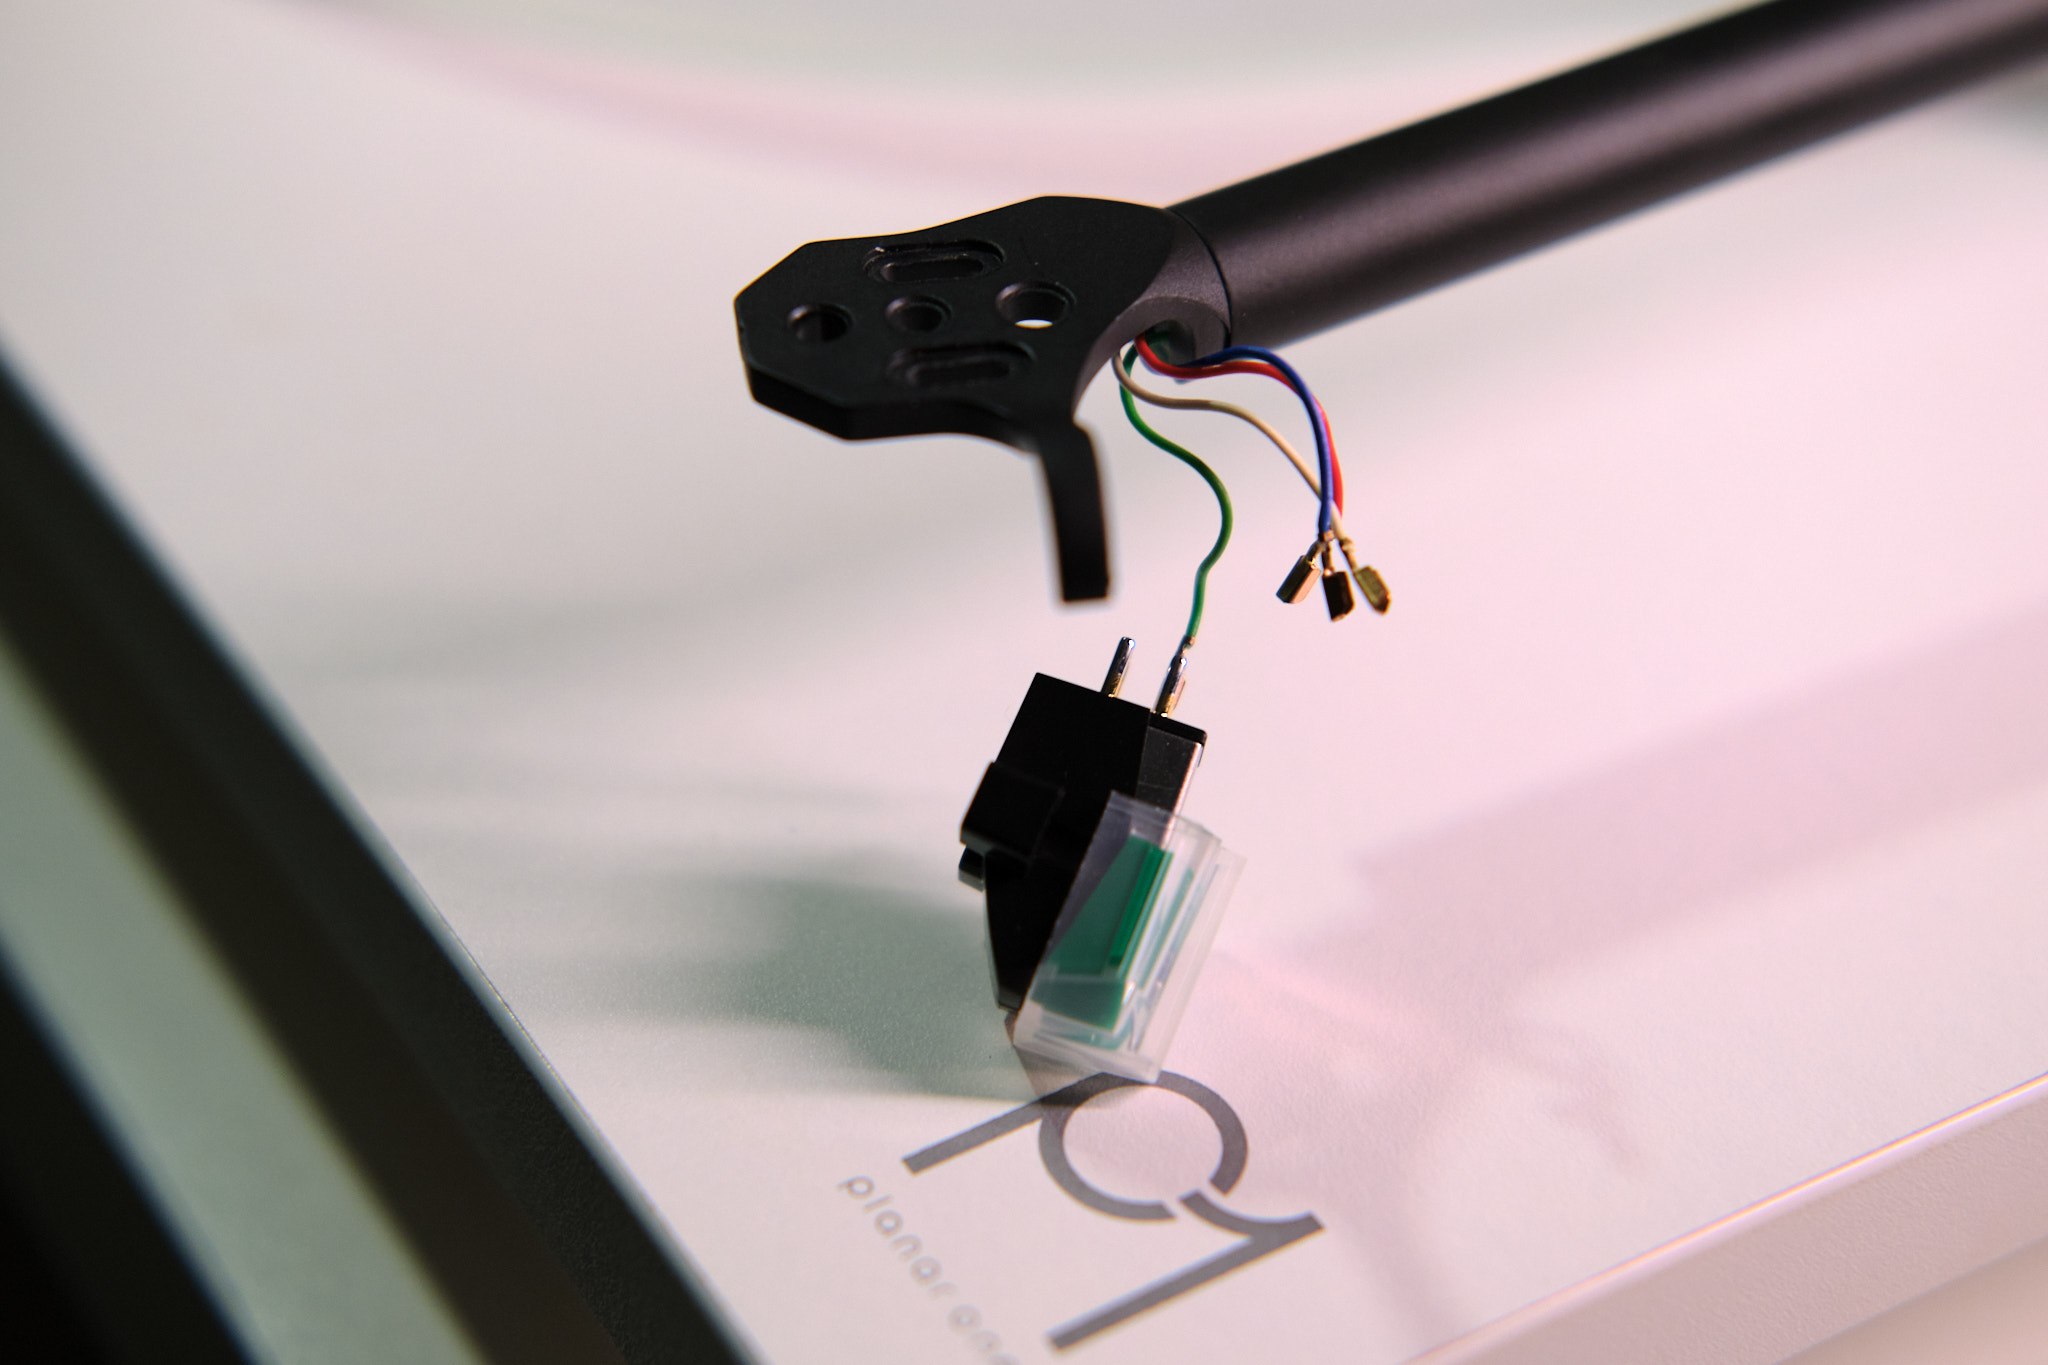
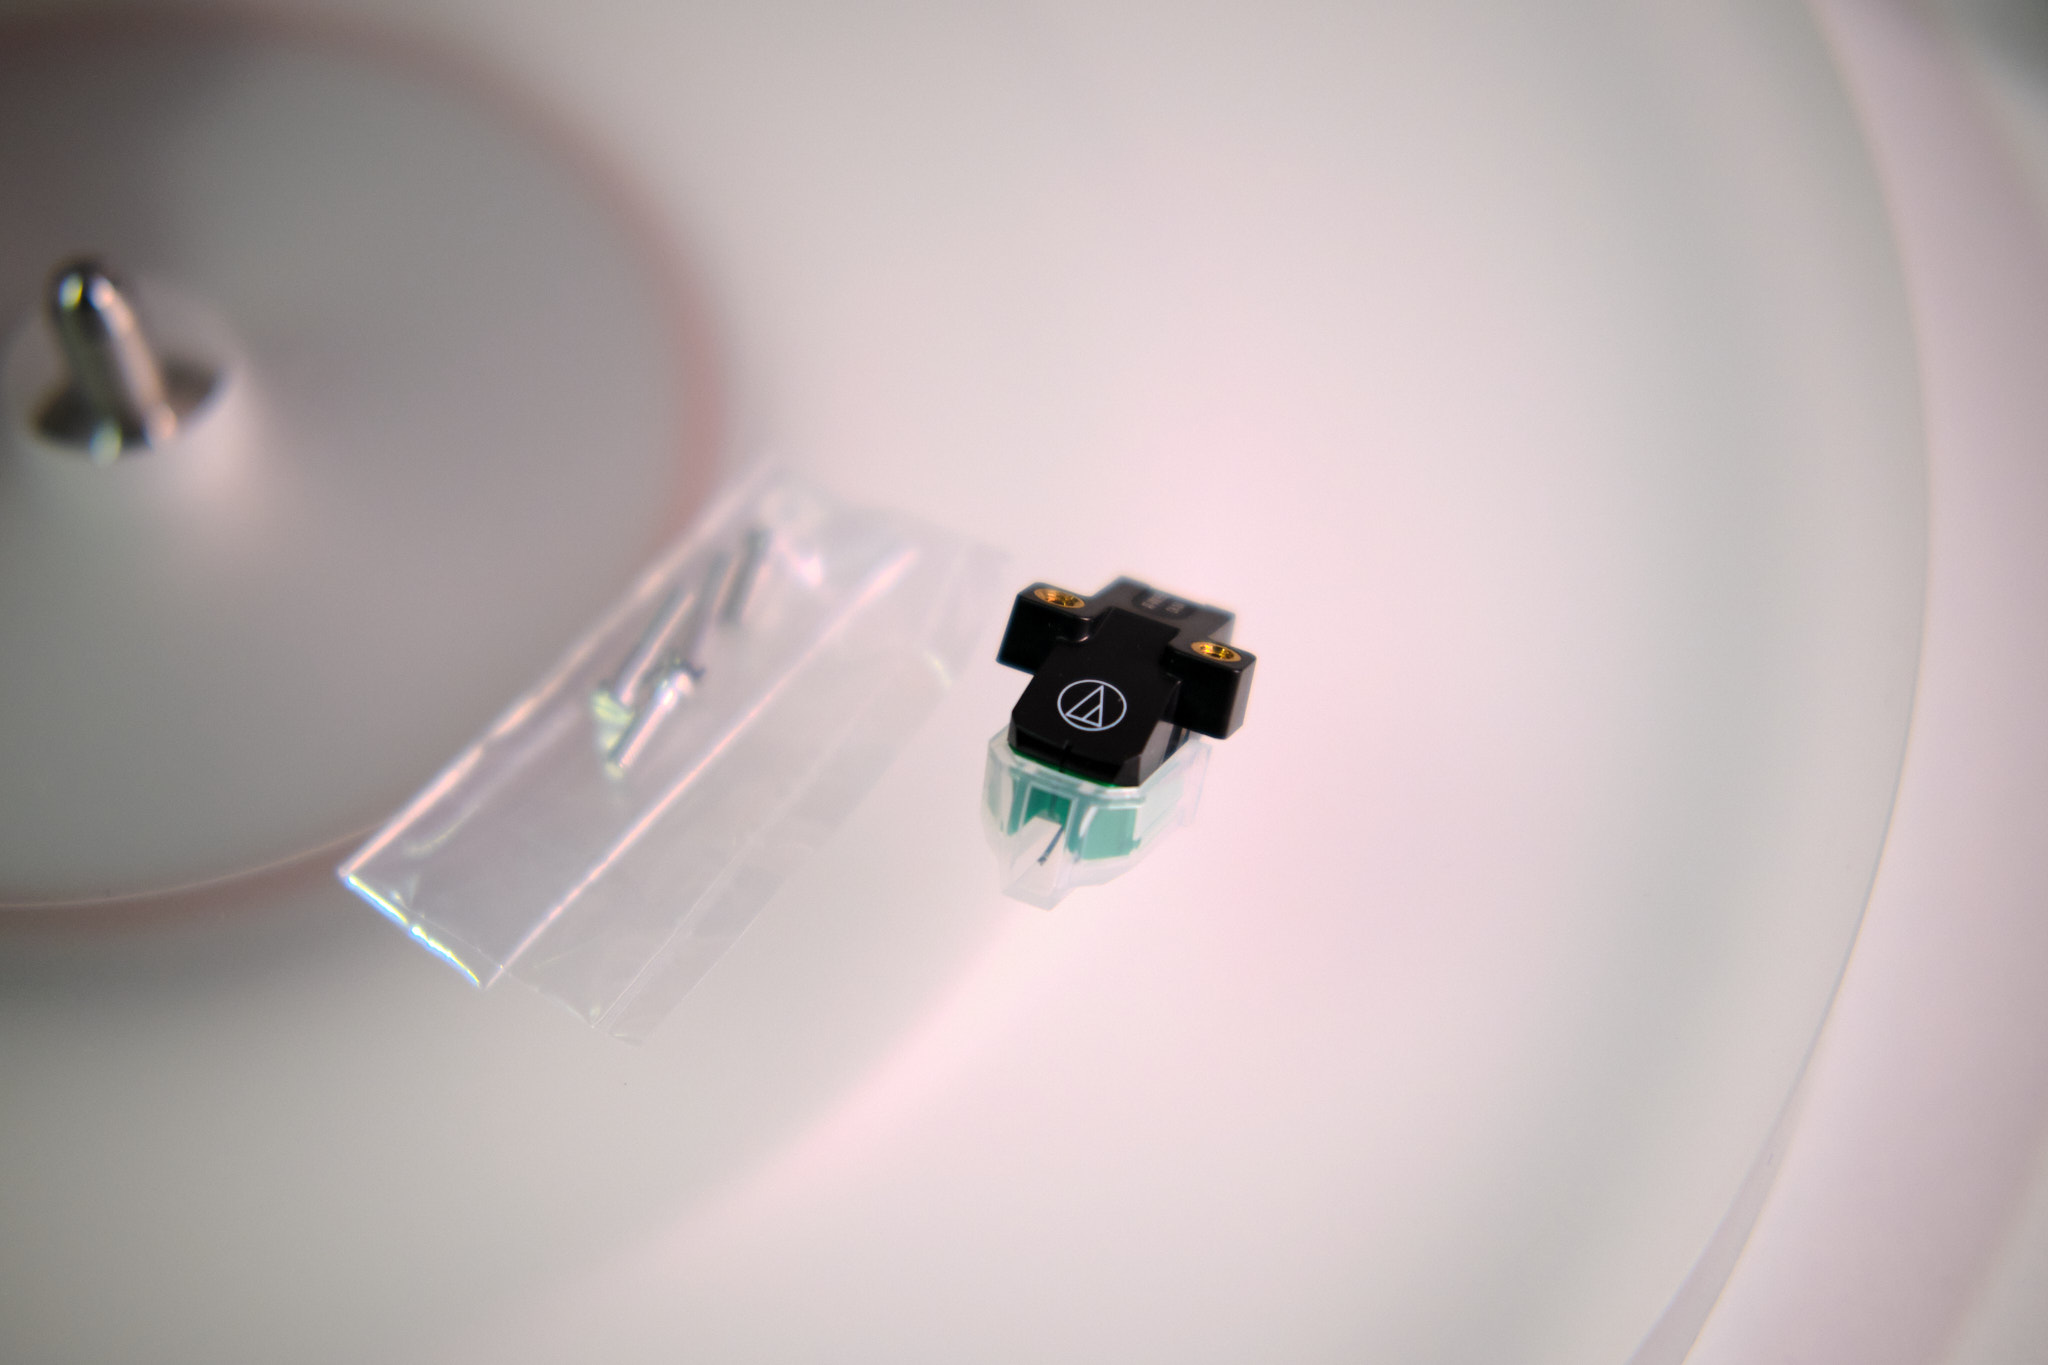
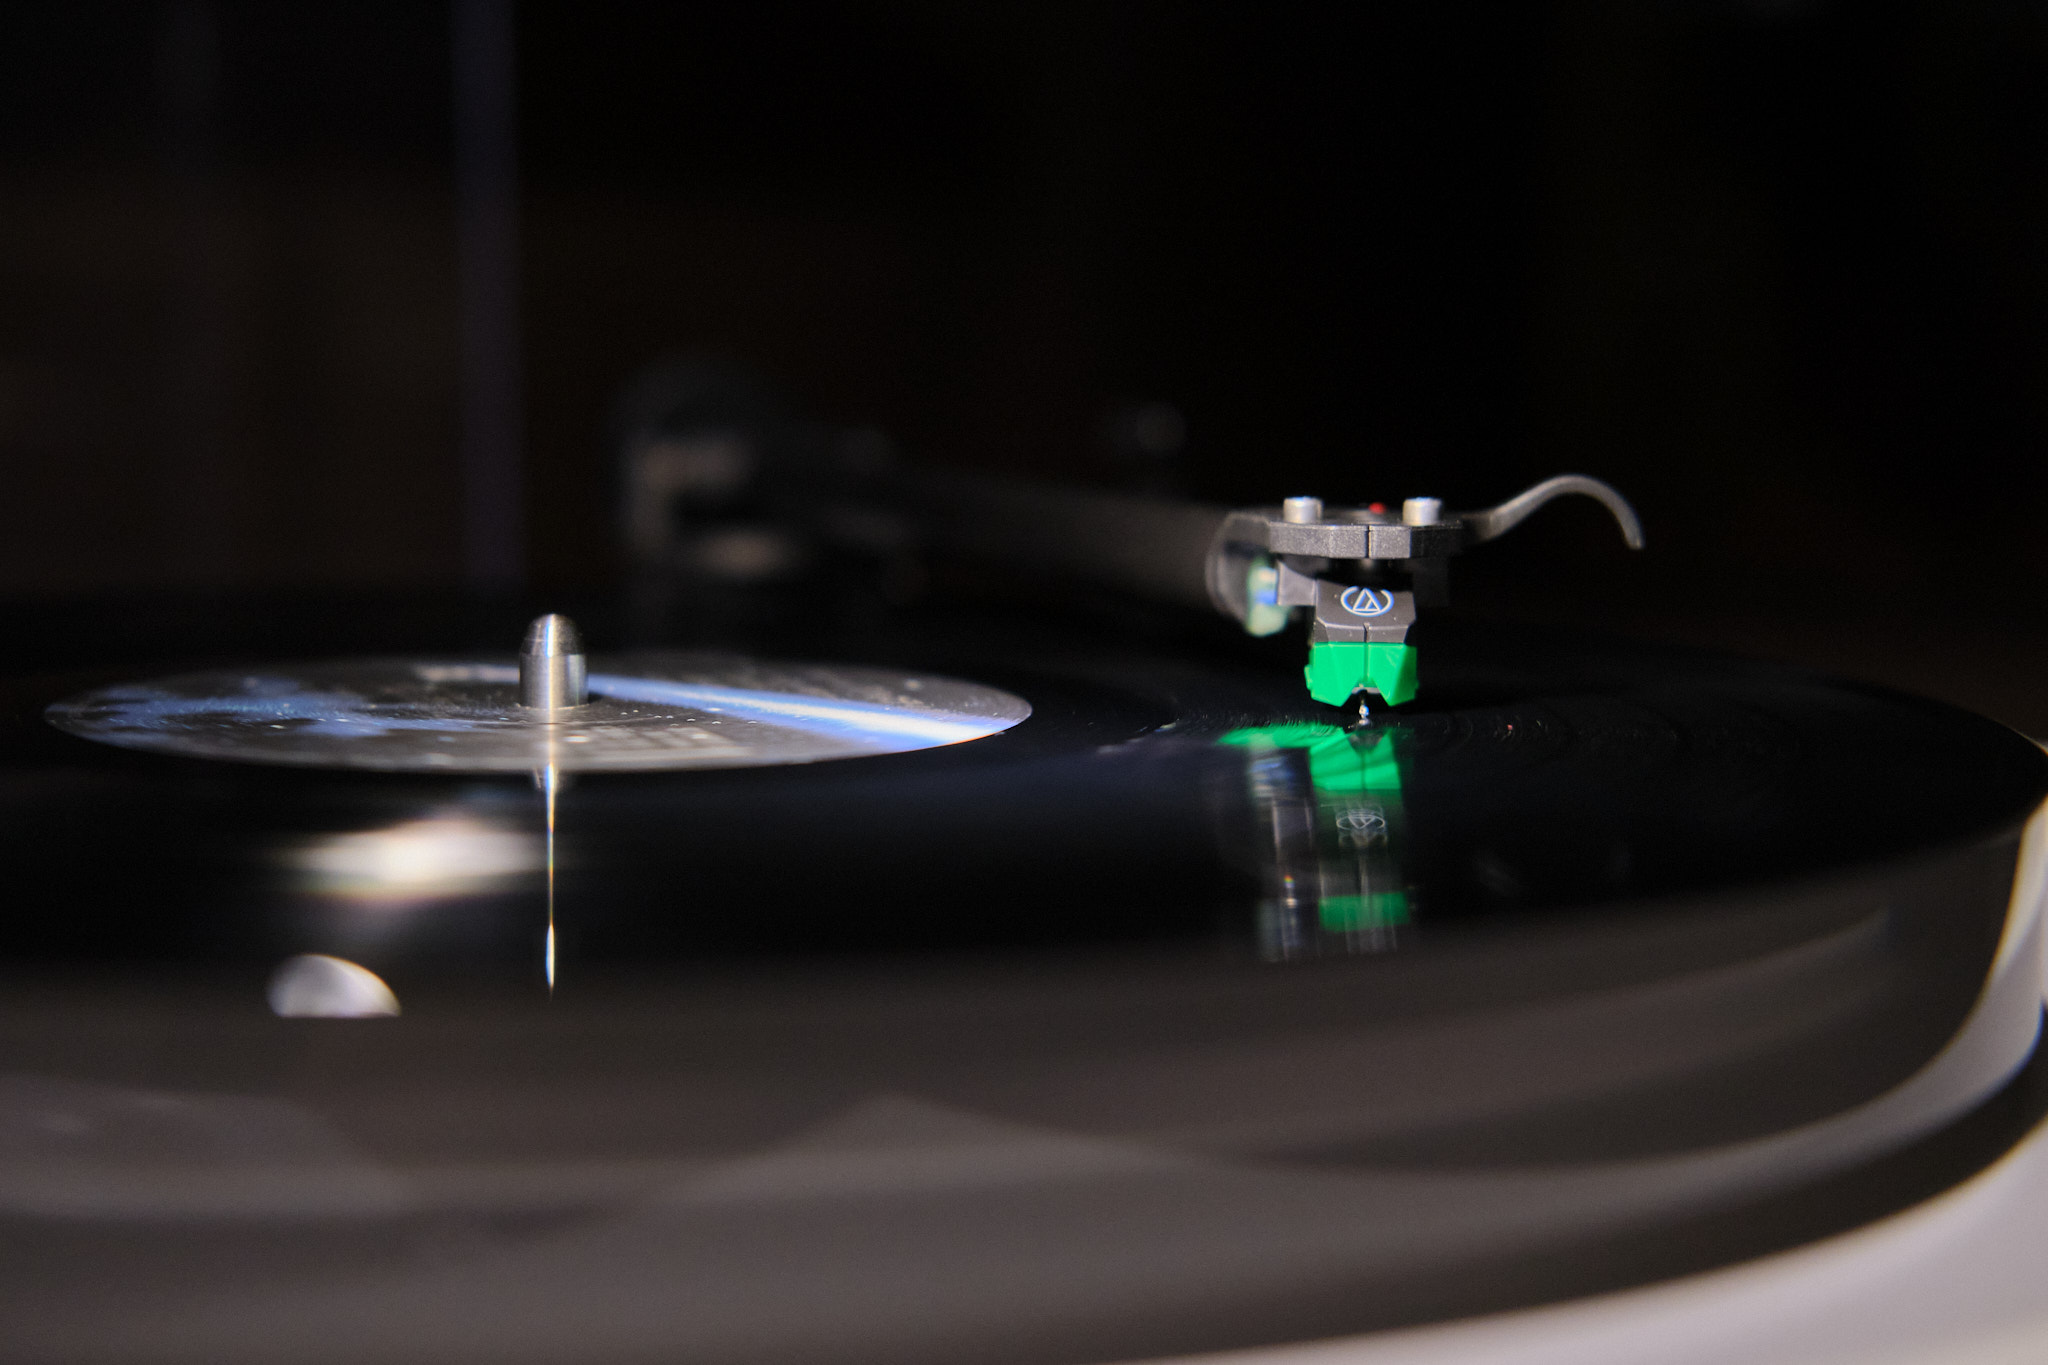
When installing the AT-VM95E cartridge on a Rega Planar 1, one of the most delicate steps is connecting the tonearm wires to the cartridge pins. Each wire is color-coded—red for the right channel, white for the left channel, green for the right ground, and blue for the left ground. These tiny connectors must be carefully pushed onto the corresponding pins of the AT-VM95E without bending them. A close-up view of the AT-VM95E cartridge shows how the wires should sit snugly in place, ensuring a secure and clean connection for proper stereo sound. Taking your time with this step prevents loose connections or distortion later when spinning your favorite vinyl records.
Installing the the new cartridge on my turntable turned out to be more straightforward than I expected. Cartridge setup can look intimidating, but with the right tools and a bit of patience, it’s something you can do at home without stress. I started with a printed Rega protractor I found online, which helped me align the stylus properly in the grooves. Good alignment matters a lot because it keeps distortion low and ensures the stylus tracks evenly across the record surface.
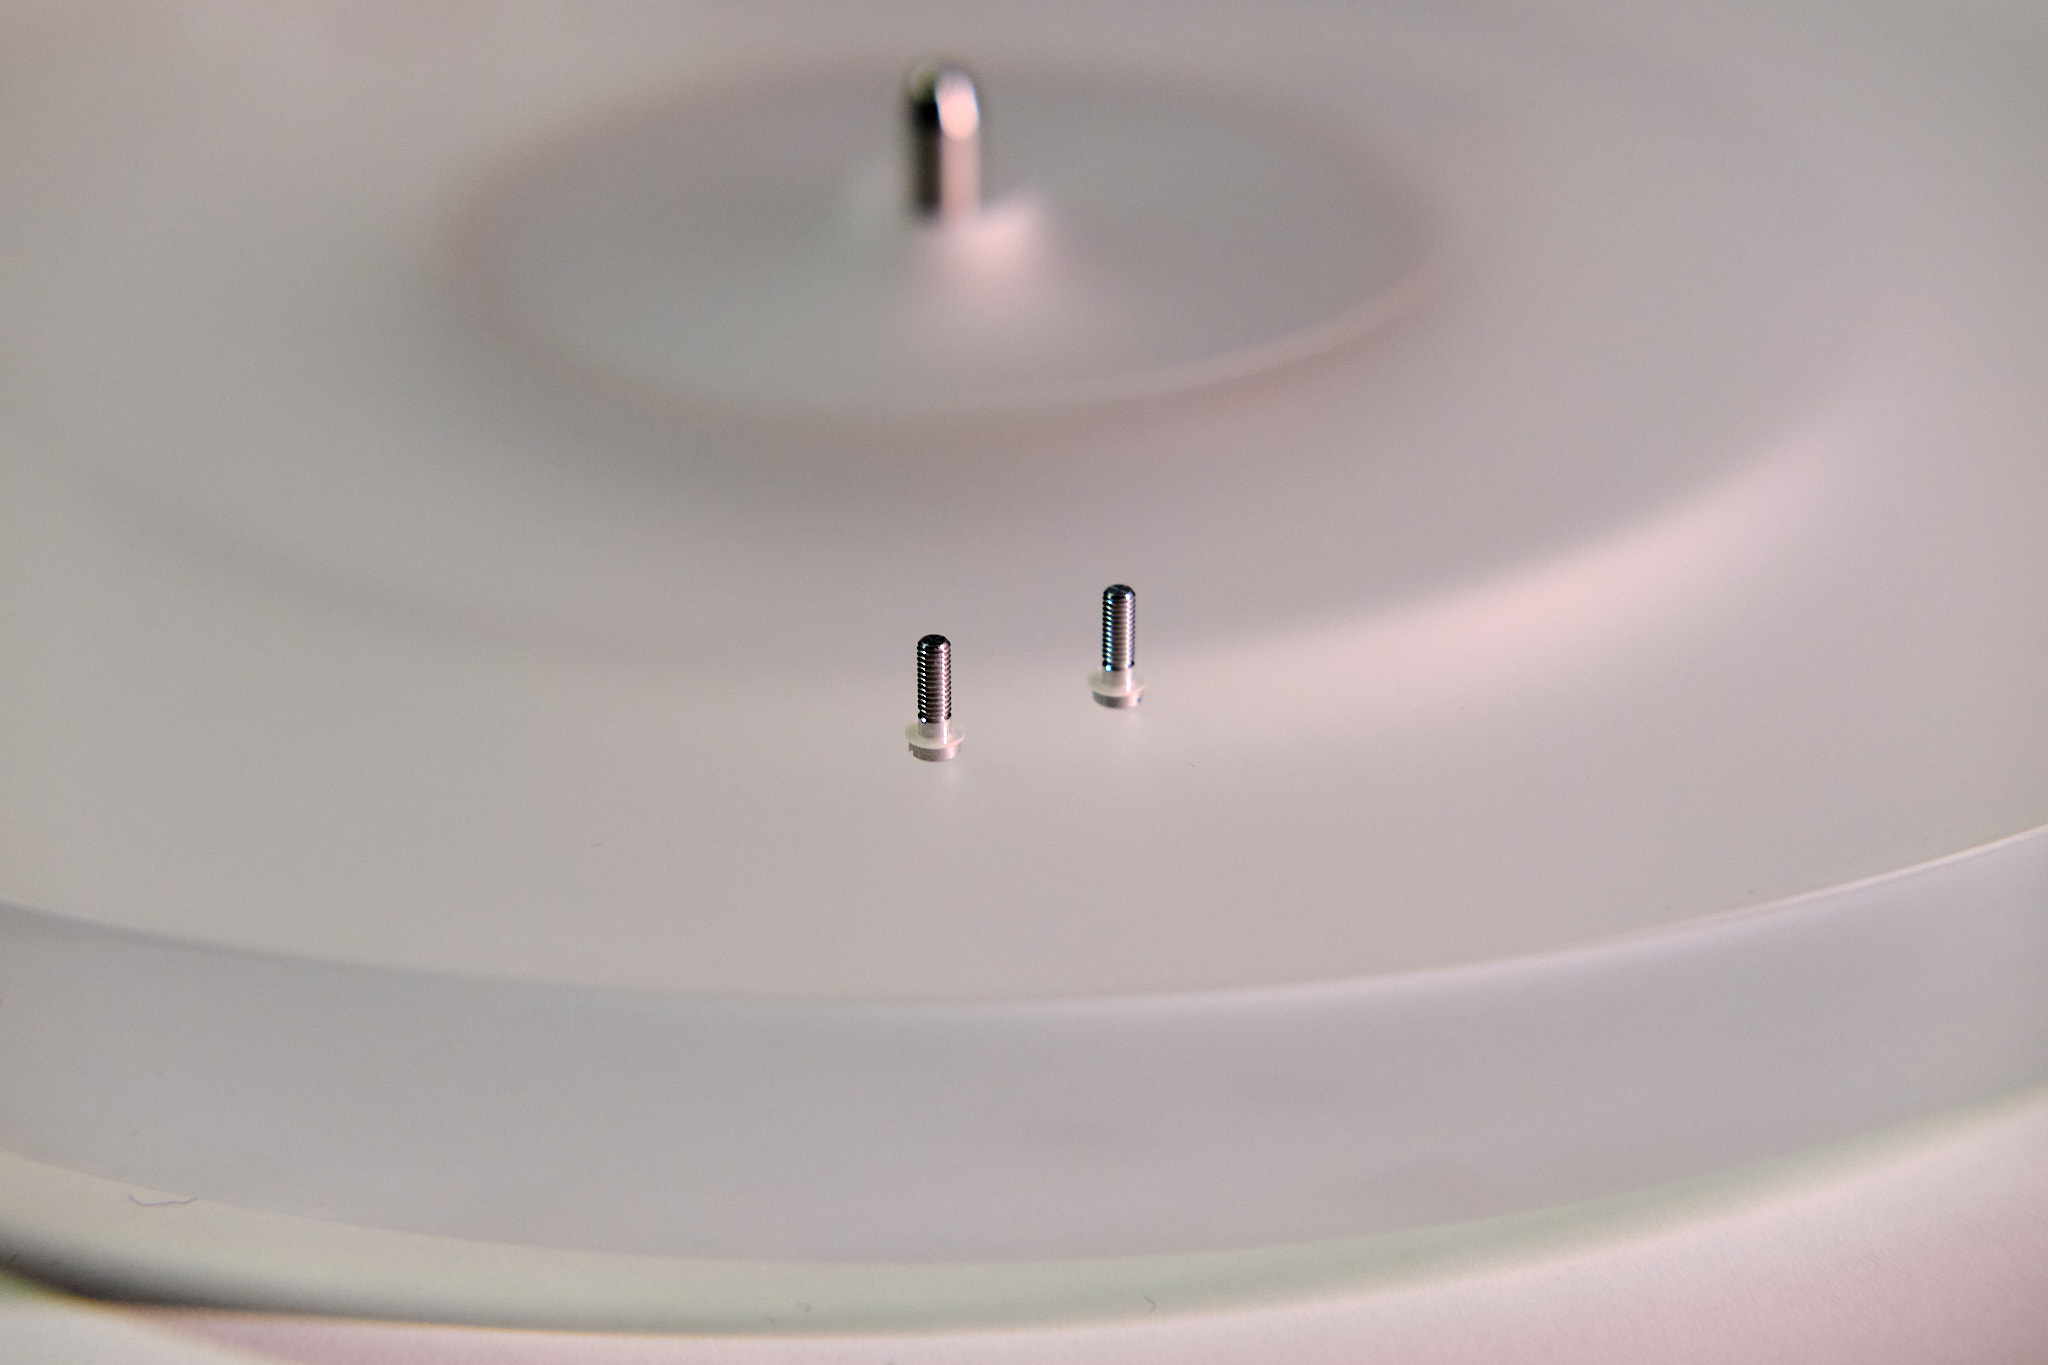
When it came time to mount the the cartridge, I skipped the screws that came in the box since they require a small hex driver I didn’t have on hand. Instead, I reused the screws from the stock Rega Carbon cartridge. They fit perfectly into the headshell and held the cartridge securely in place. The important part is making sure the cartridge sits flat and tightened evenly, and the Rega screws did the job just fine without affecting performance.
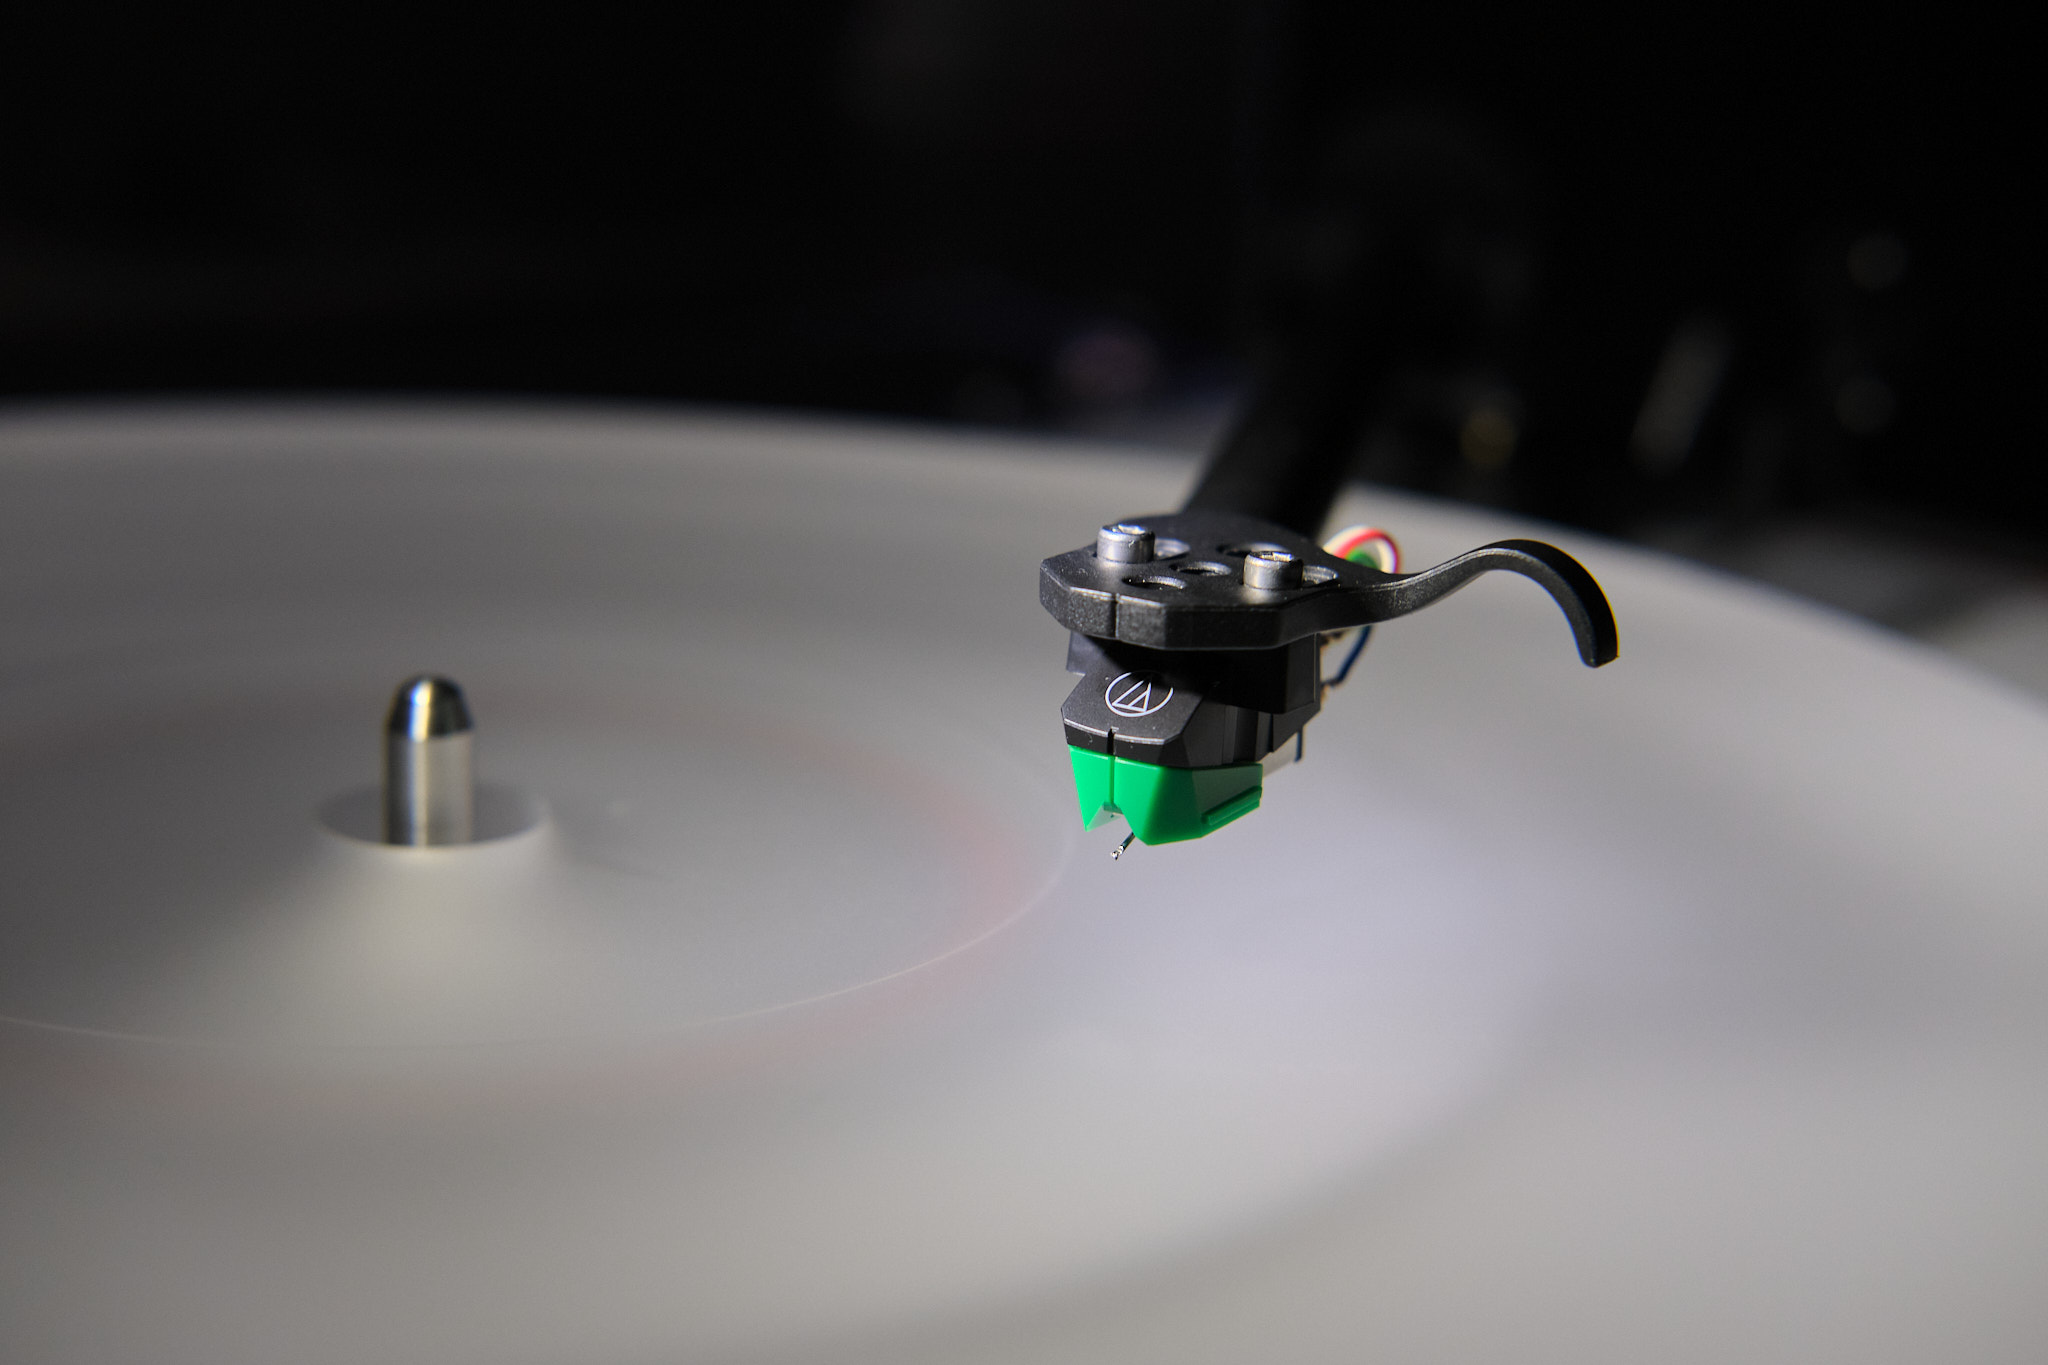
Positioning the AT-VM95E cartridge onto the Rega Planar 1 headshell is all about getting it to sit straight and level. I lined up the cartridge with the slots on the headshell, making sure it was centered before lightly tightening the screws. This way, I could still nudge it into the right position without forcing anything. The goal was to have the stylus sit naturally at the correct angle, ready for final alignment and tracking adjustments.
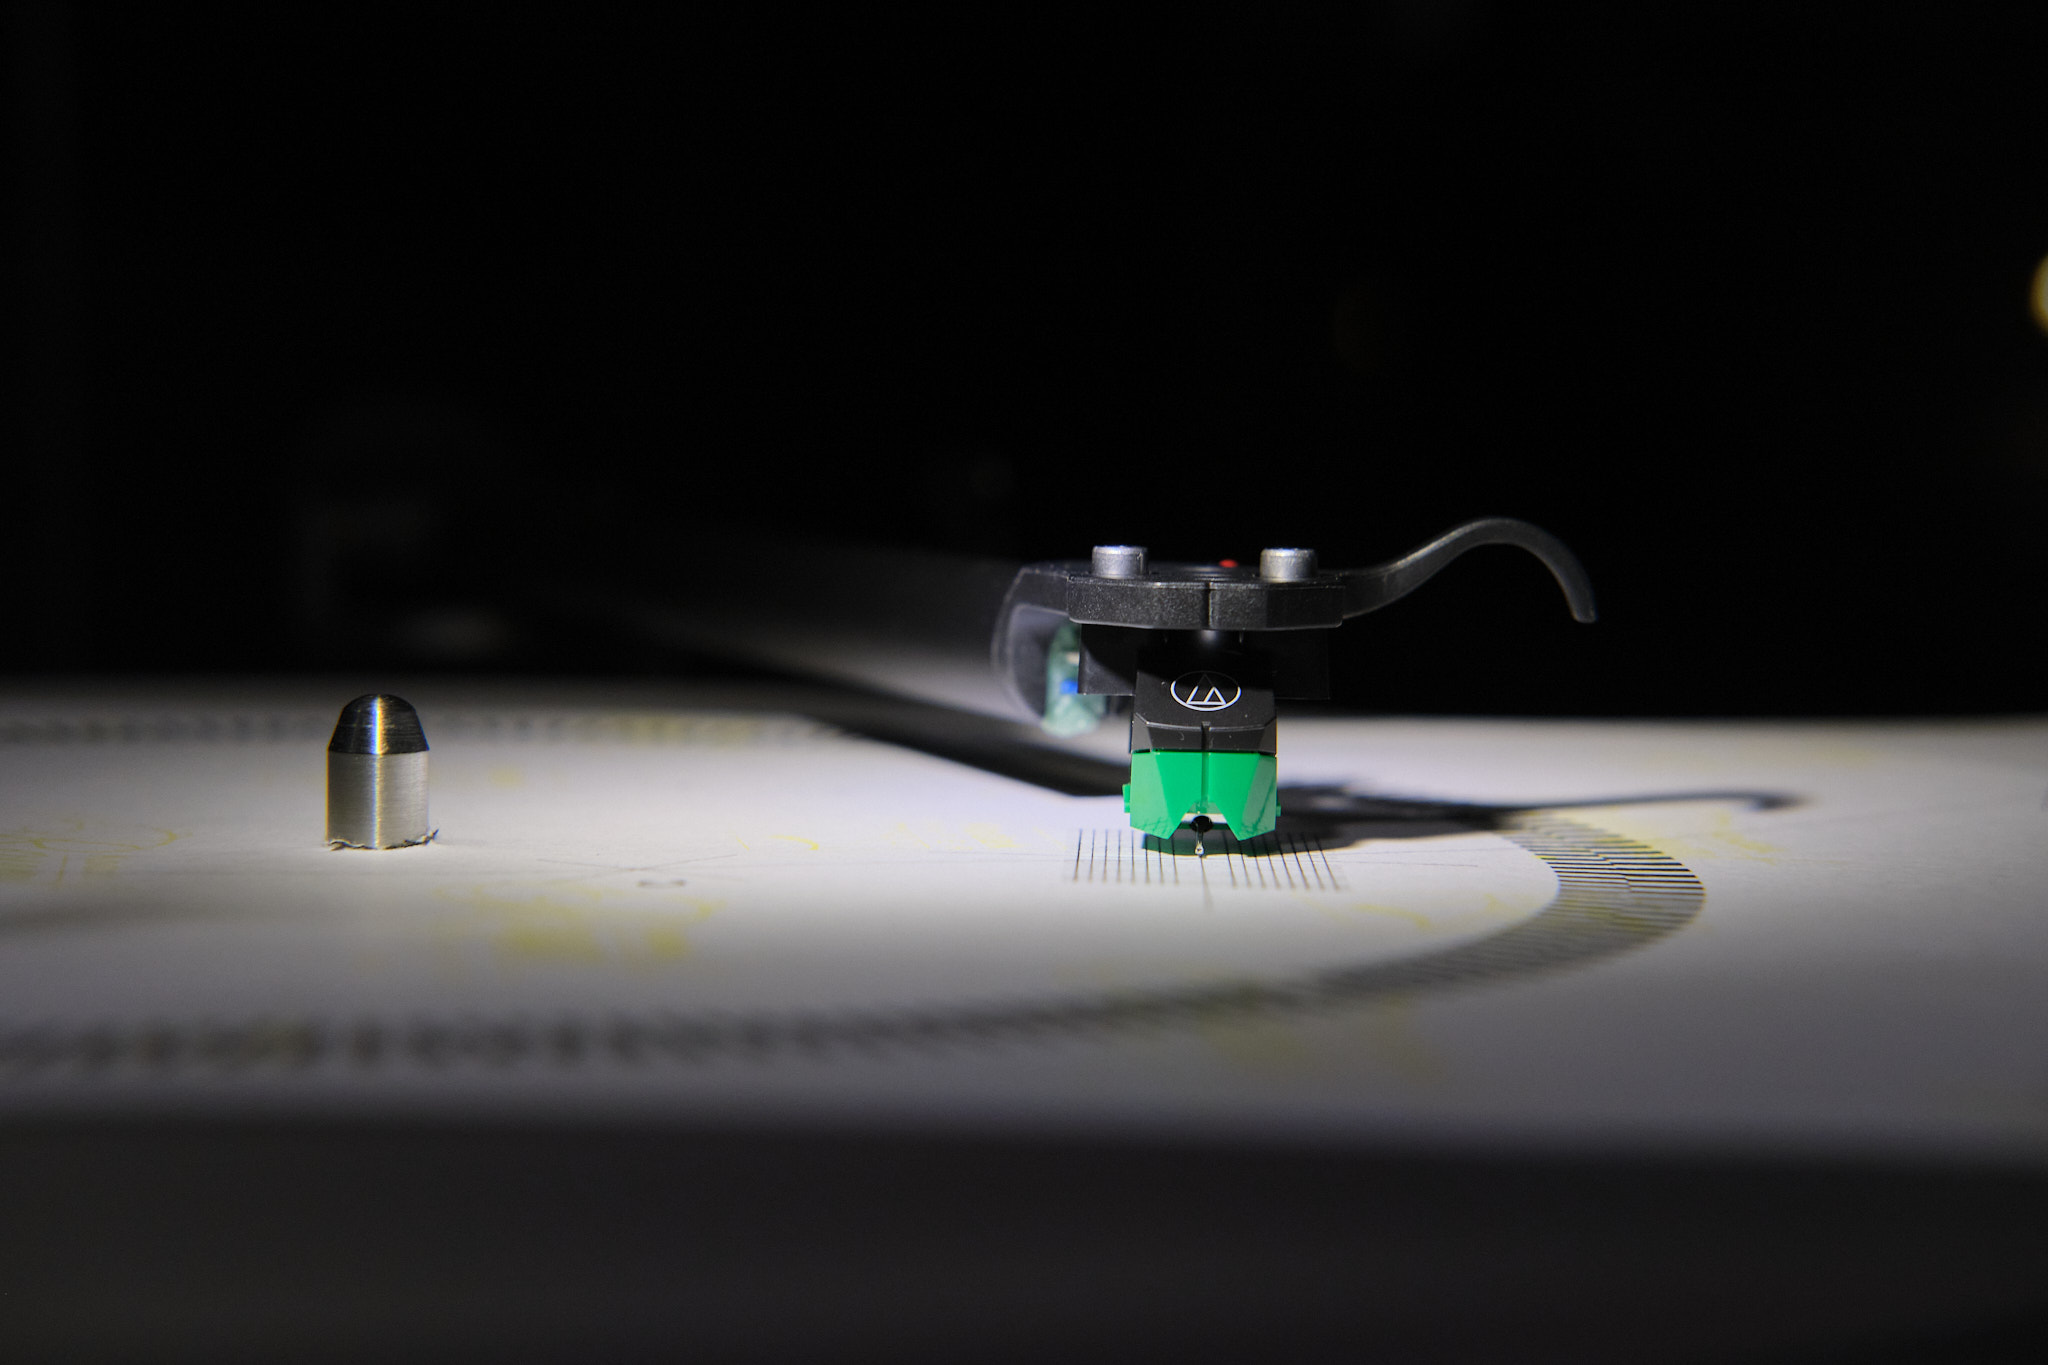
Aligning the cartridge on the Rega Planar 1 was much easier once I used a printed Rega protractor I found online. I laid it on the platter, dropped the stylus onto the marked points, and checked if the cartridge sat square in the grid. I pushed the cartridge forward until it reached the end of the headshell, then gave it a tiny nudge and twist to get everything lined up. Once the lines matched up with the protractor, I tightened the screws and felt good knowing the setup would track smoothly and sound balanced.
After alignment, I set the AT-VM95E vertical tracking force. Using a simple stylus force scale I grabbed from Amazon, I adjusted the counterweight to standard 2.0 grams, the recommended AT-VM95E VTF setting for this cartridge, according to Audio-Technica’s official website. Getting tracking force right is key: too light and the stylus might skip, too heavy and it can wear down both the stylus and your records. At 2.0g, the AT-VM95E feels stable and secure, tracking confidently without any sign of mistracking. To play it safe, I tested the setup on an older vinyl record before spinning my better ones.
For anti-skate, I had previously experimented with a CD test when running the Goldring cartridge; the needle stayed in place, so it’s a good sign (but I scratched my CD lol, please don’t try this). This time, I trusted the factory Rega anti-skate setting, and it worked perfectly with the AT-VM95E. The channels sound balanced, and there’s no audible distortion, which tells me the setup is dialed in correctly.
I also fine-tuned my listening experience with speaker toe-in. By angling my speakers slightly toward my listening position at ear level, the soundstage opened up. Vocals and instruments had clearer separation, and the overall presentation felt much more immersive.
In the end, this process showed me that Audio-Technica AT-VM95E cartridge alignment isn’t as complicated as it seems. With a protractor, a stylus scale, and some patience, you can get it right and enjoy distortion-free playback with solid channel balance. The upgrade is worth the effort if you want more out of your Rega Planar 1 turntable.
How the AT-VM95E Sounds
Straight out of the box, the Audio-Technica VM95 series cartridge opened up my system’s sound in a way I didn’t expect. Compared to the stock Rega Carbon cartridge, the difference is night and day—the mids sound cleaner, the highs come through sharper, and the soundstage feels more defined. For vinyl lovers moving from the Carbon to this green Audio-Technica stylus, it’s a clear upgrade in clarity and balance.
While it doesn’t fully match the warmth and detail of the E3, the VM95E stylus comes surprisingly close at almost half the price. This makes it one of the best budget-friendly cartridges for the Rega Planar 1 if you’re chasing better detail retrieval without overspending.
Paired with my Rega Fono Mini A2D MKII phono stage and Rega turntable, the Audio-Technica cartridge delivers a lively and enjoyable sound signature that plays well across vinyl genres—whether it’s jazz, rock, or acoustic. I have tested a new setup with the NAD 3130 & Fosi Audio MC331 hybrid tube amp, combining the vintage amp using pre-out, and cross-linking the speakers’ binding posts, which might bring a slightly warmer and smoother presentation to balance the cartridge’s energy.
Since different amps can change how the music sounds, I don’t really prefer using the Aiyima A80 amplifier for vinyl playback.
Audio-Technica Needle Replacement and Future Upgrades
One of the biggest advantages of going with an Audio-Technica cartridge is the simple and affordable stylus swap system. The Audio-Technica needle replacement process takes just a few seconds—no need to realign or reset the whole cartridge. This means the AT-VM95E isn’t a dead-end; it’s more like an entry ticket into the full VM95 series.
Right now, I’m using the elliptical stylus, but when the time comes, I can upgrade to higher-end options like the AT-VM95ML (microline) or the AT-VM95SH (Shibata) for improved tracking and detail retrieval. This upgrade path makes the AT-VM95E stylus upgrade one of the easiest and most cost-effective ways to step up your vinyl playback.
For anyone starting out and wondering what the best Audio-Technica cartridges might be, the AT-VM95E is hard to beat. Instead of buying a whole new cartridge each time, you can simply change the stylus when it wears out or when your system (and budget) is ready for more refinement. It’s a clever design that keeps you spinning records with confidence, knowing you can push the sound quality further without overspending.
Read more: Top 8 Rega Turntable Upgrades for Ultimate Sound Quality
Final Thoughts on the Audio-Technica AT-VM95E Review
While I still miss some of the punch and detail that the Goldring E3 brings, I’m genuinely impressed by what the budget-friendly AT-VM95E cartridge delivers. It’s affordable, versatile, and gives vinyl enthusiasts a clear path to future upgrades without breaking the bank. Most importantly, it completely solved the sound imbalance issue that had been driving me crazy and made my records enjoyable again. I’ll probably spend a bit more time realigning the cartridge and giving the sound another test. Check out the AT-VM95E vinyl sound test on YouTube.com.
If you’re searching for the best budget cartridge upgrade for the Rega Planar 1, the AT-VM95E is an option you shouldn’t overlook. It may not be the last cartridge you’ll ever own, but it makes a big difference right away and gives you the freedom to grow into higher-end stylus options when you’re ready.
Happy spinning!
FAQs About the Audio-Technica AT-VM95E
What is the recommended tracking force for the Audio-Technica AT-VM95E?
Can I upgrade the VM95E cartridge without replacing it entirely?
Yes. The VM95 series uses the same cartridge body, so you can swap in a better stylus like the VM95ML microline or VM95SH Shibata, giving you a clear upgrade path without buying a whole new cartridge.
How does the AT-VM95E compare to the Rega Carbon cartridge?
Many listeners find that the Audio-Technica VM95E has more detail, cleaner mids, and a brighter top end, while the Rega Carbon tends to sound softer and less defined.
Is stylus replacement easy on the AT-VM95E?
Yes. The Audio-Technica stylus replacement process is simple. As long as you stay within the VM95 family, you can swap the needle without needing to re-align the cartridge body.
How many hours of use can I expect from the AT-VM95E stylus?
The bonded elliptical stylus usually lasts 300 hours of playtime, depending on how clean your records are and how well your turntable is set up.
Is a slight cantilever lean on my Rega Planar 1 common with the AT-VM95E?
Yes, it’s not unusual for the AT-VM95E (and many cartridges) to show a slight lean when lowered. As long as the sound is stable, this is usually normal. If you play a record and you don’t hear channel imbalance, distortion, or mistracking, the slight slant is probably nothing to worry about.