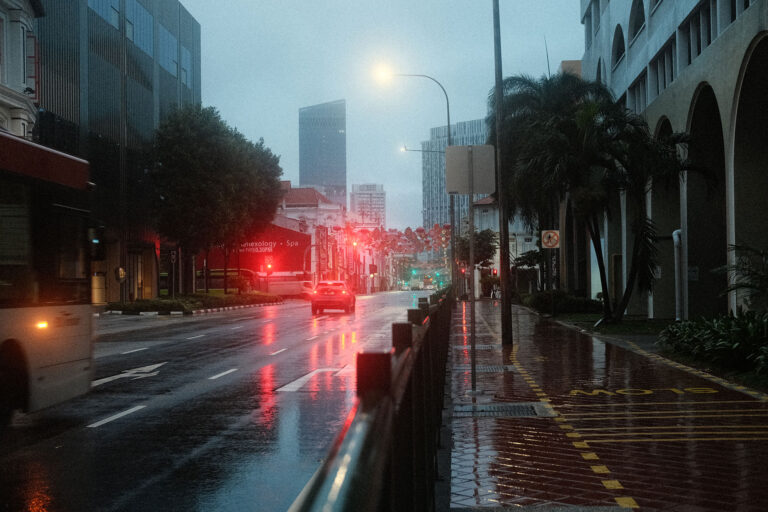
If you’re chasing that cinematic neon look for your portraits, Cyberpunk Infinity is the film simulation recipe you’ve been waiting for. Most cyberpunk film simulation recipes focus on urban night scenes, heavy contrast, and futuristic city vibes. They’re great for moody cityscapes, but they don’t always work well when you’re photographing people under neon signs or LED panels. That’s where this recipe changes the game.
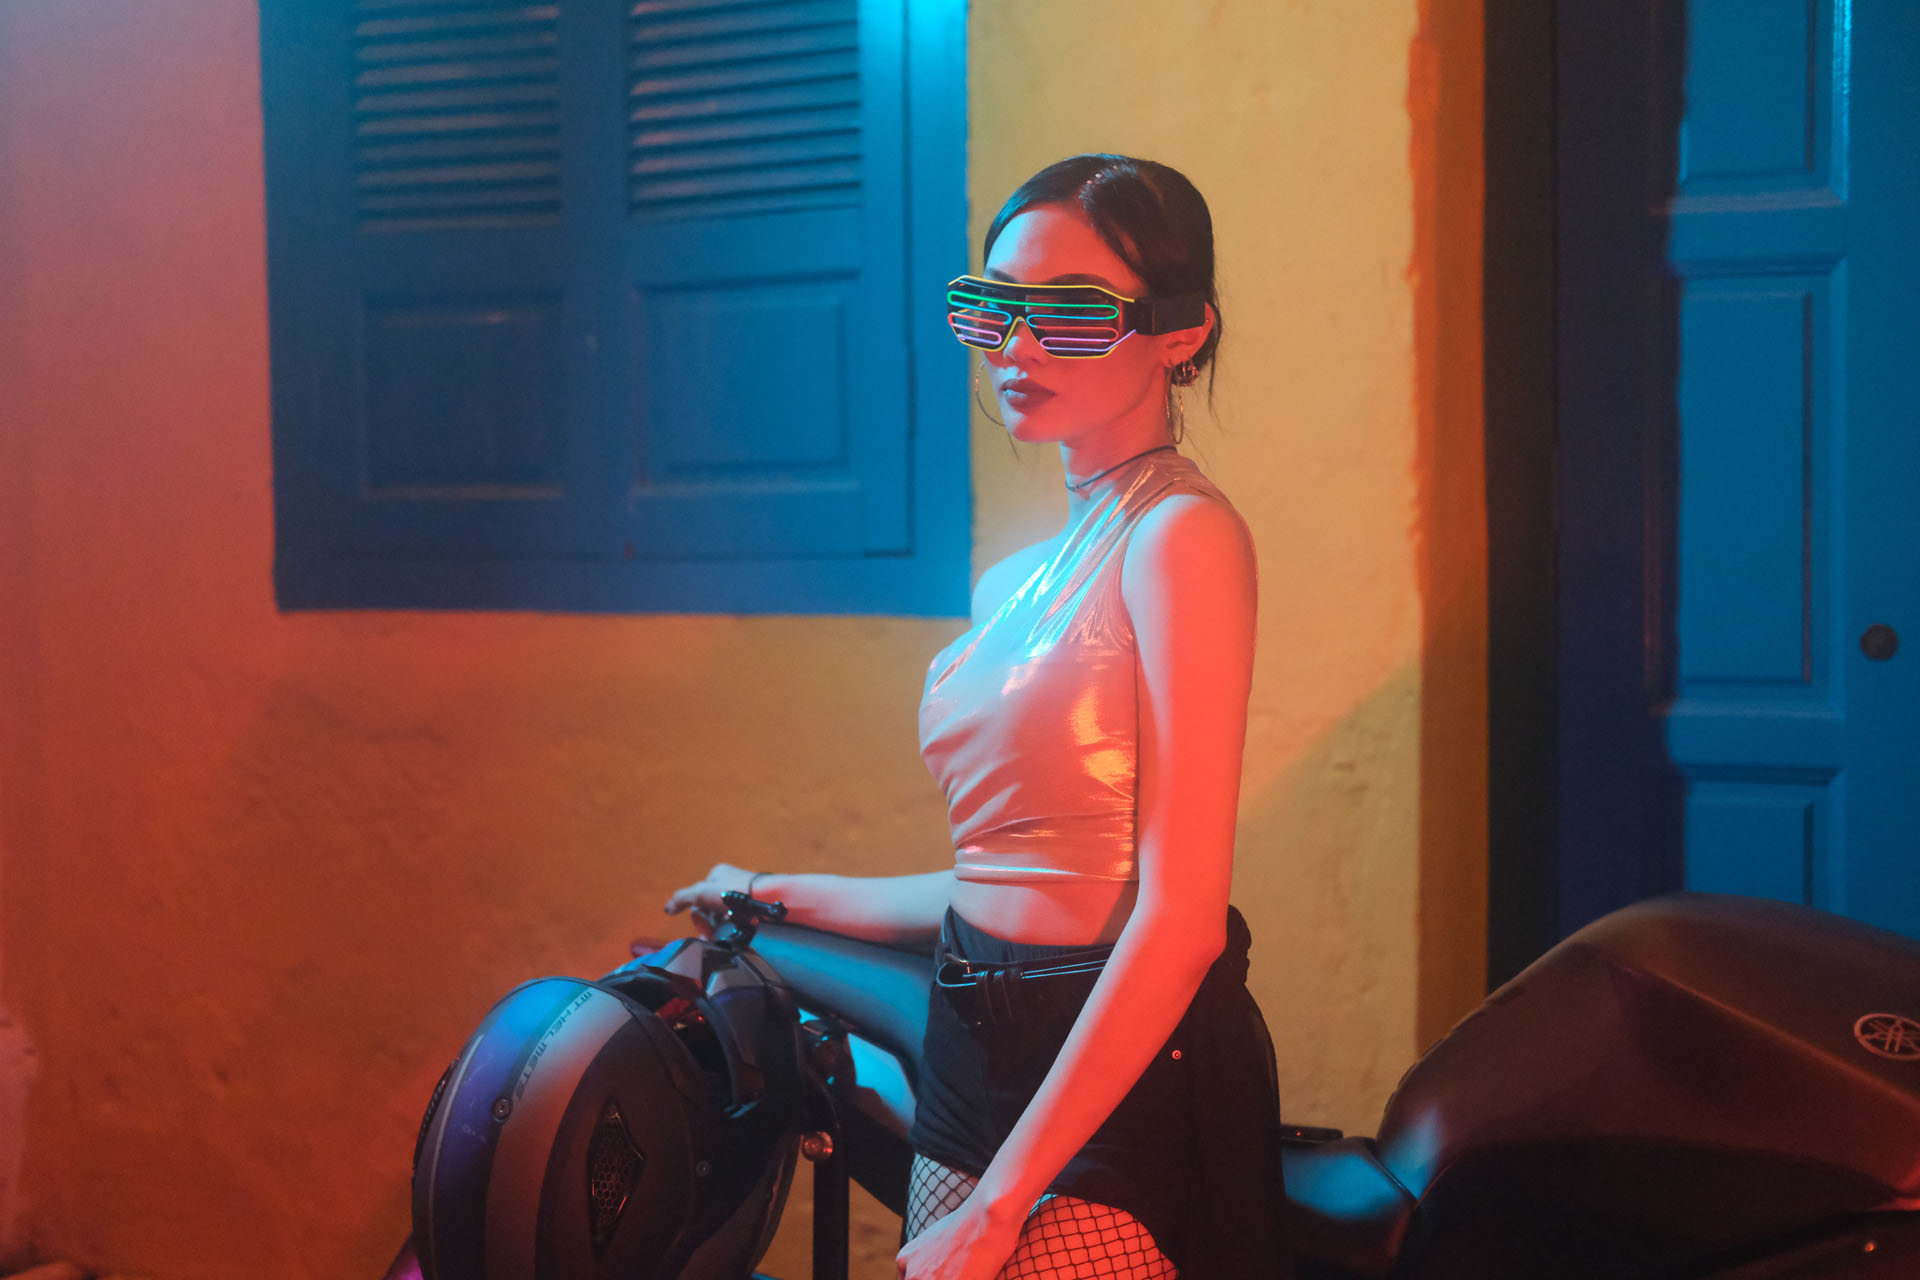
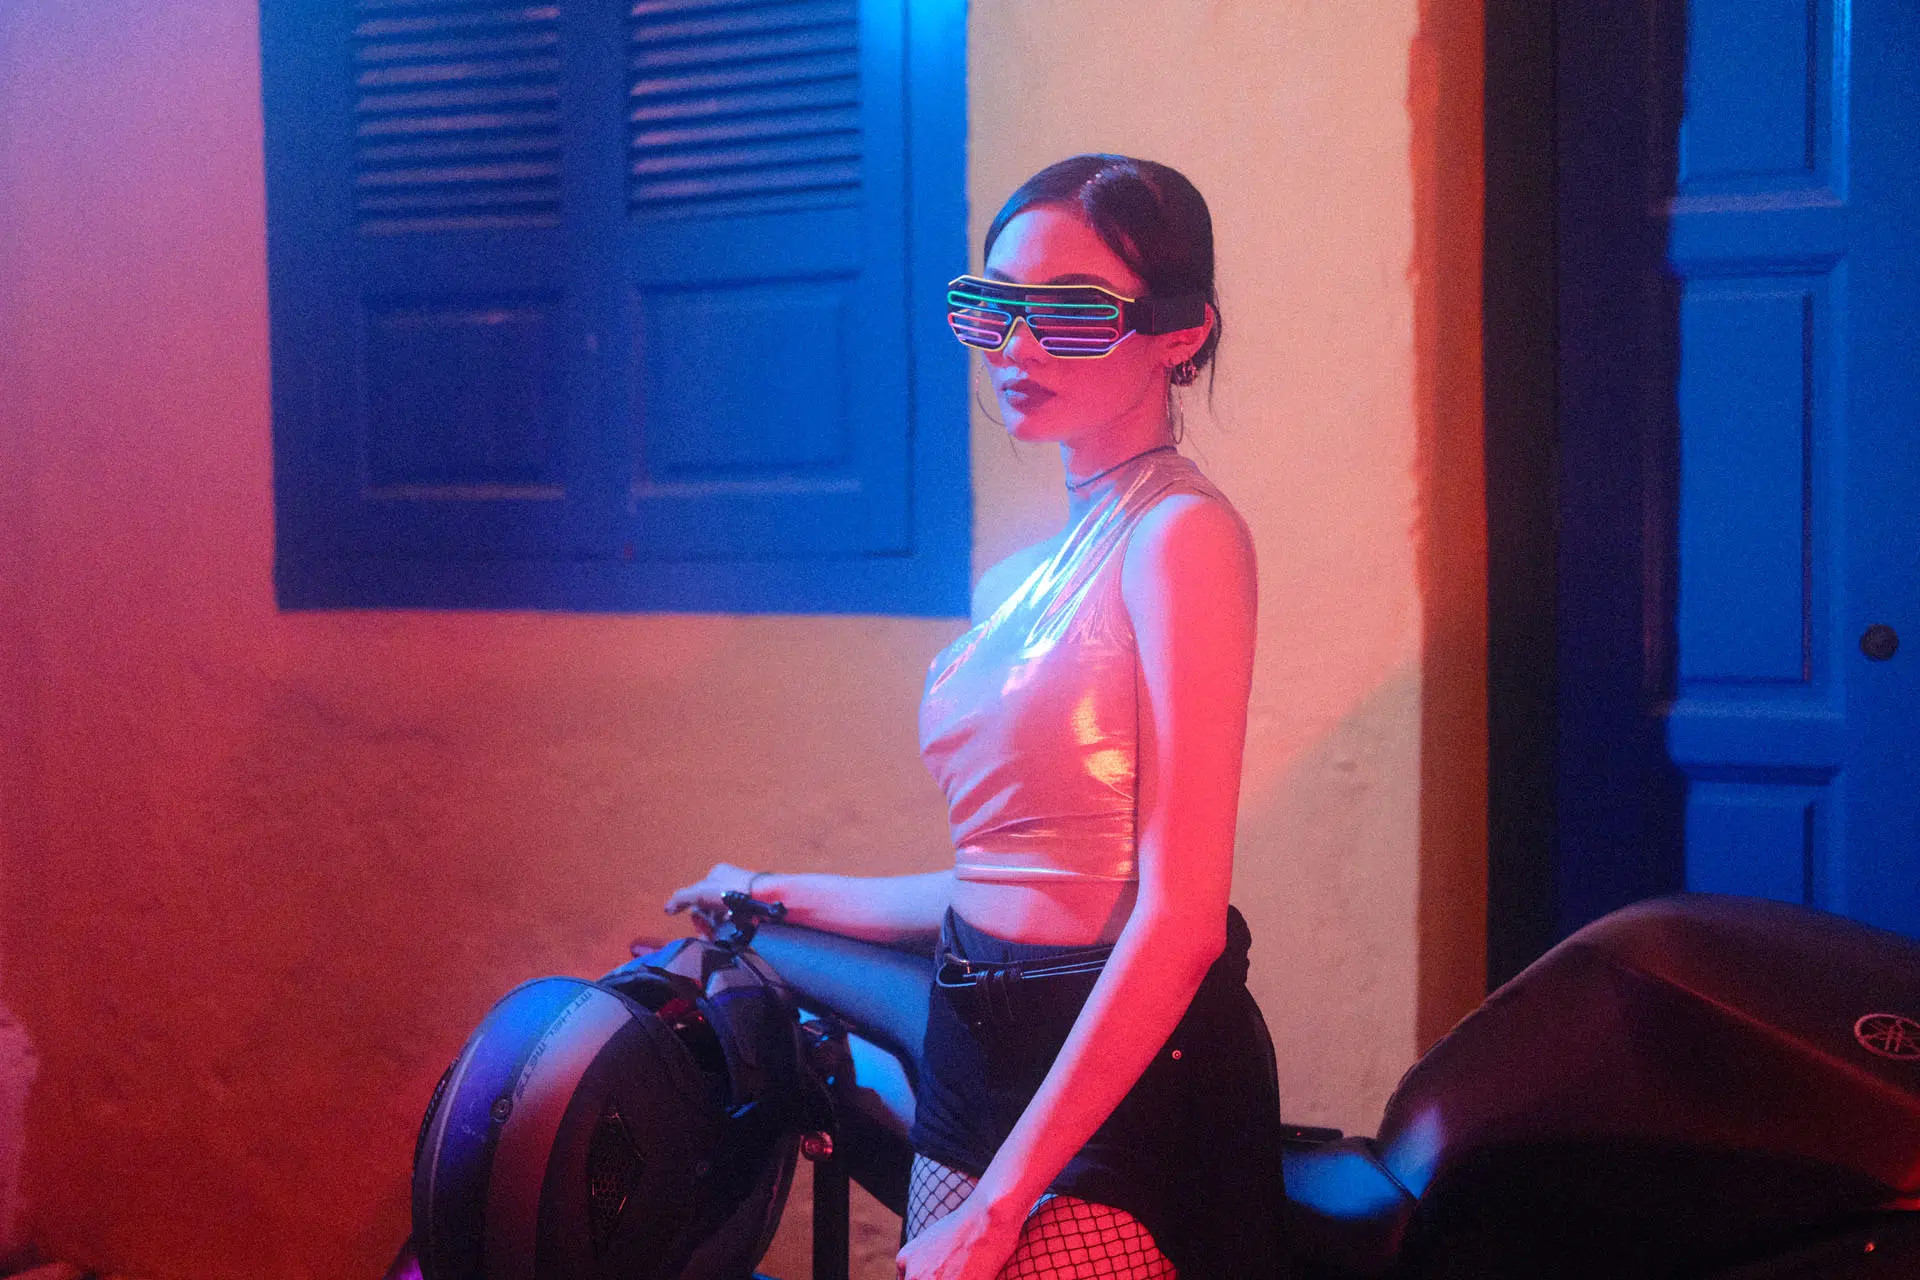
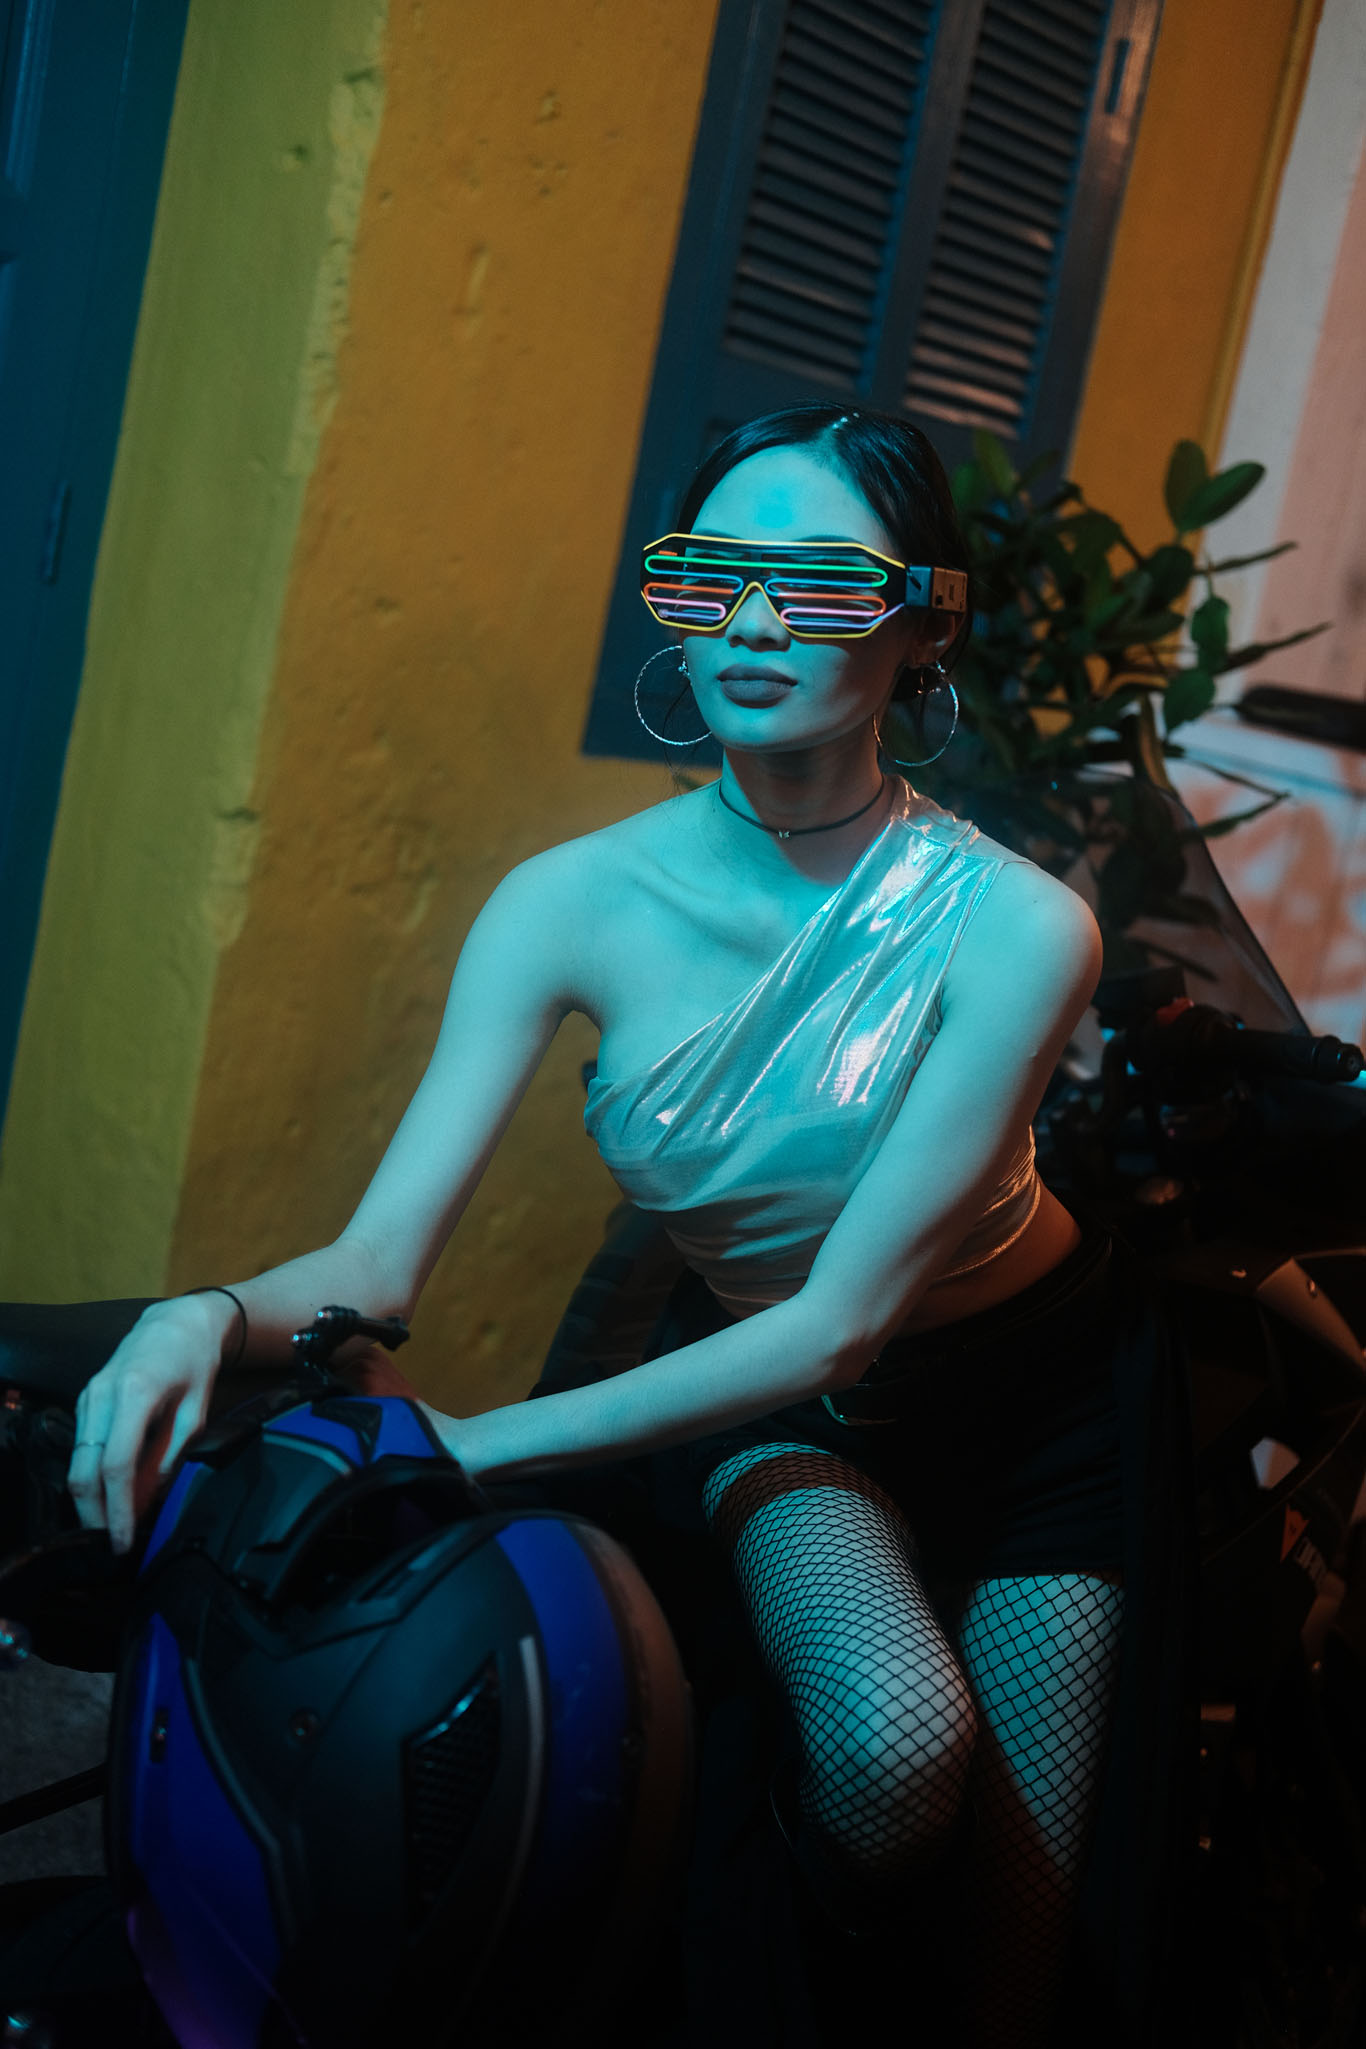
Cyberpunk Infinity was built for a very specific type of shoot—cyberpunk portraits for Fujifilm cameras, especially under low light, glowing signage, and colorful LED strips. Think hazy faces lit by magenta, teal, or orange lights with reflections bouncing off wet pavement or glass.
The Cyberpunk Infinity pack offers multiple stylized variants—Teal, Blue, and Magenta—each crafted to match different lighting conditions and creative moods. Whether you’re shooting under intense neon signs, soft LED glows, or moody ambient light, these variations help you dial in the perfect cyberpunk look. From bold and vivid to dreamy and cinematic, each one brings a unique flavor, so you don’t have to constantly adjust settings mid-shoot. Just pick the vibe, and shoot.
This recipe is made for X-Trans IV and V sensors. It works great with cameras like the Fujifilm X-T5, X-T4, X100V, X-E4, and similar models. The results will vary slightly depending on your lens and lighting conditions, but the core look stays consistent.
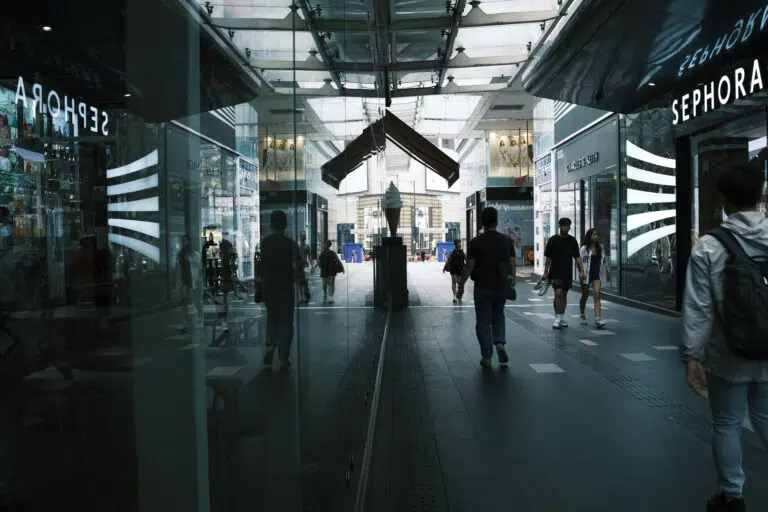
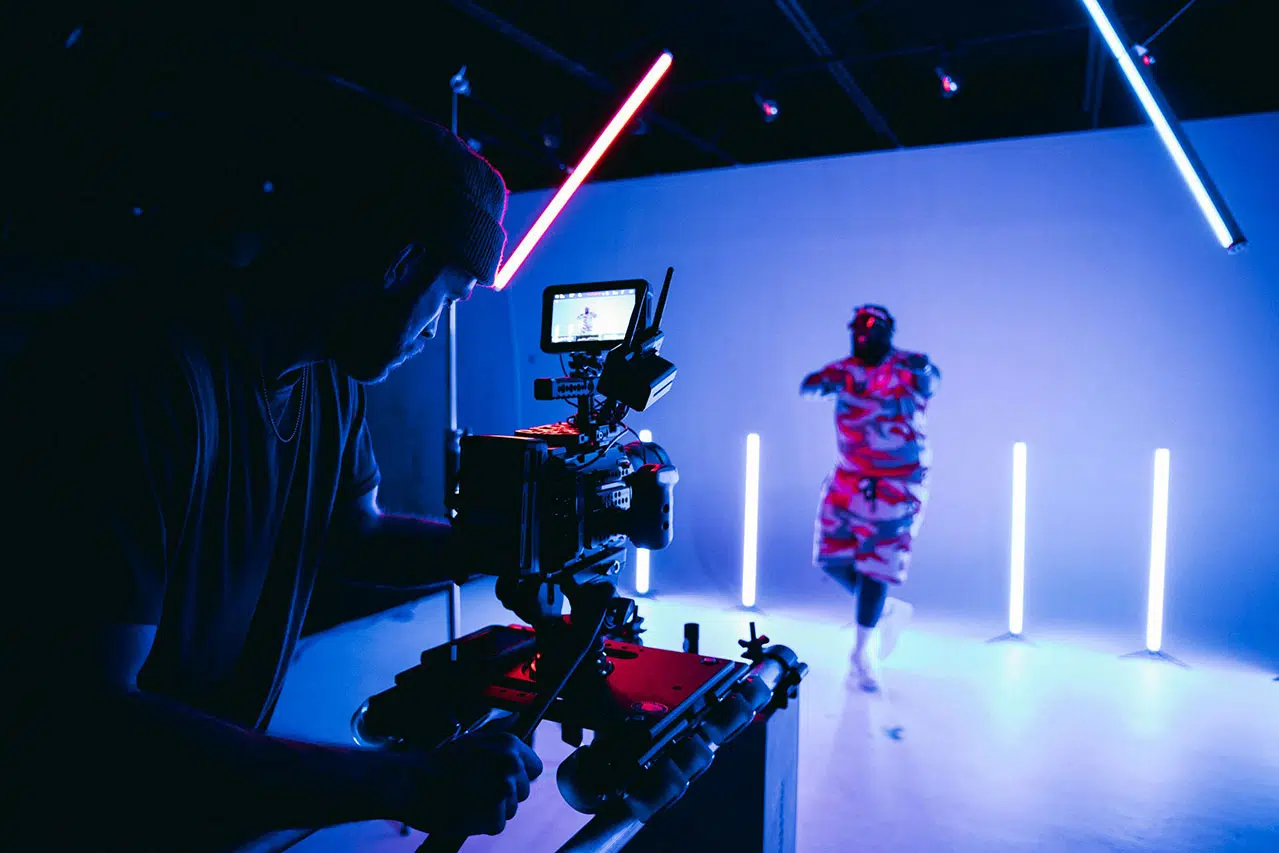
Cyberpunk Infinity thrives in controlled light situations with rich color. It’s not meant for daylight or natural scenes—it shines when you embrace artificial lighting. Shopping alleys, arcades, rooftop signs, gas stations, convenience stores, or LED-lit interiors all work beautifully. If you’re going for something straight out of a sci-fi movie, this recipe has your back.
This isn’t built for pure street photography or fast-moving action. It’s slow, cinematic, and works best when you can plan your composition and lighting a bit. Think of it as painting with neon, not capturing chaos.
It can work, but there are better recipes out there for street-only use. This one’s optimized for faces under neon glow.
Turning off film grain is optional, but it can make your cyberpunk portraits look crisper and more contrast-heavy.
This neon portrait film recipe for Fujifilm draws inspiration from Lomography Color Negative 800, known for its bold shifts, warmth, and that gritty retro glow. But instead of going hard on contrast like many other recipes, Cyberpunk Infinity pulls it back a bit to let skin tones breathe and lights bloom naturally.
Unlike most cyberpunk film simulation recipes, this one wasn’t designed for street shots or city buildings. It was created with people in mind—faces, skin tones, and how they interact with light in the scene.
The color shifts are strong but not overpowering. Using Pro Neg Hi as the base helps soften the transitions and keeps things from getting too harsh. While recipes based on Classic Chrome or Eterna are popular for moody vibes, Pro Neg Hi handles neon tones with more elegance when shooting portraits.
Color +3 boosts the saturation enough to make teal, magenta, and orange pop without turning skin into unnatural hues. You’ll still get those Blade Runner vibes, just with more warmth and less cyan overload.
Shadow +1 gives depth without crushing details. It maintains separation in dark areas, especially in hair and clothing, while still holding the structure of the background. It’s subtle, but it makes a difference in scenes with multiple light sources.
The real magic comes from Clarity -2. Combined with a diffusion filter, this softens the edges of light, giving that dreamy “bloom” effect seen in cinematic cyberpunk films. It helps remove harsh digital sharpness from faces and adds a gentle glow to reflections and signage.
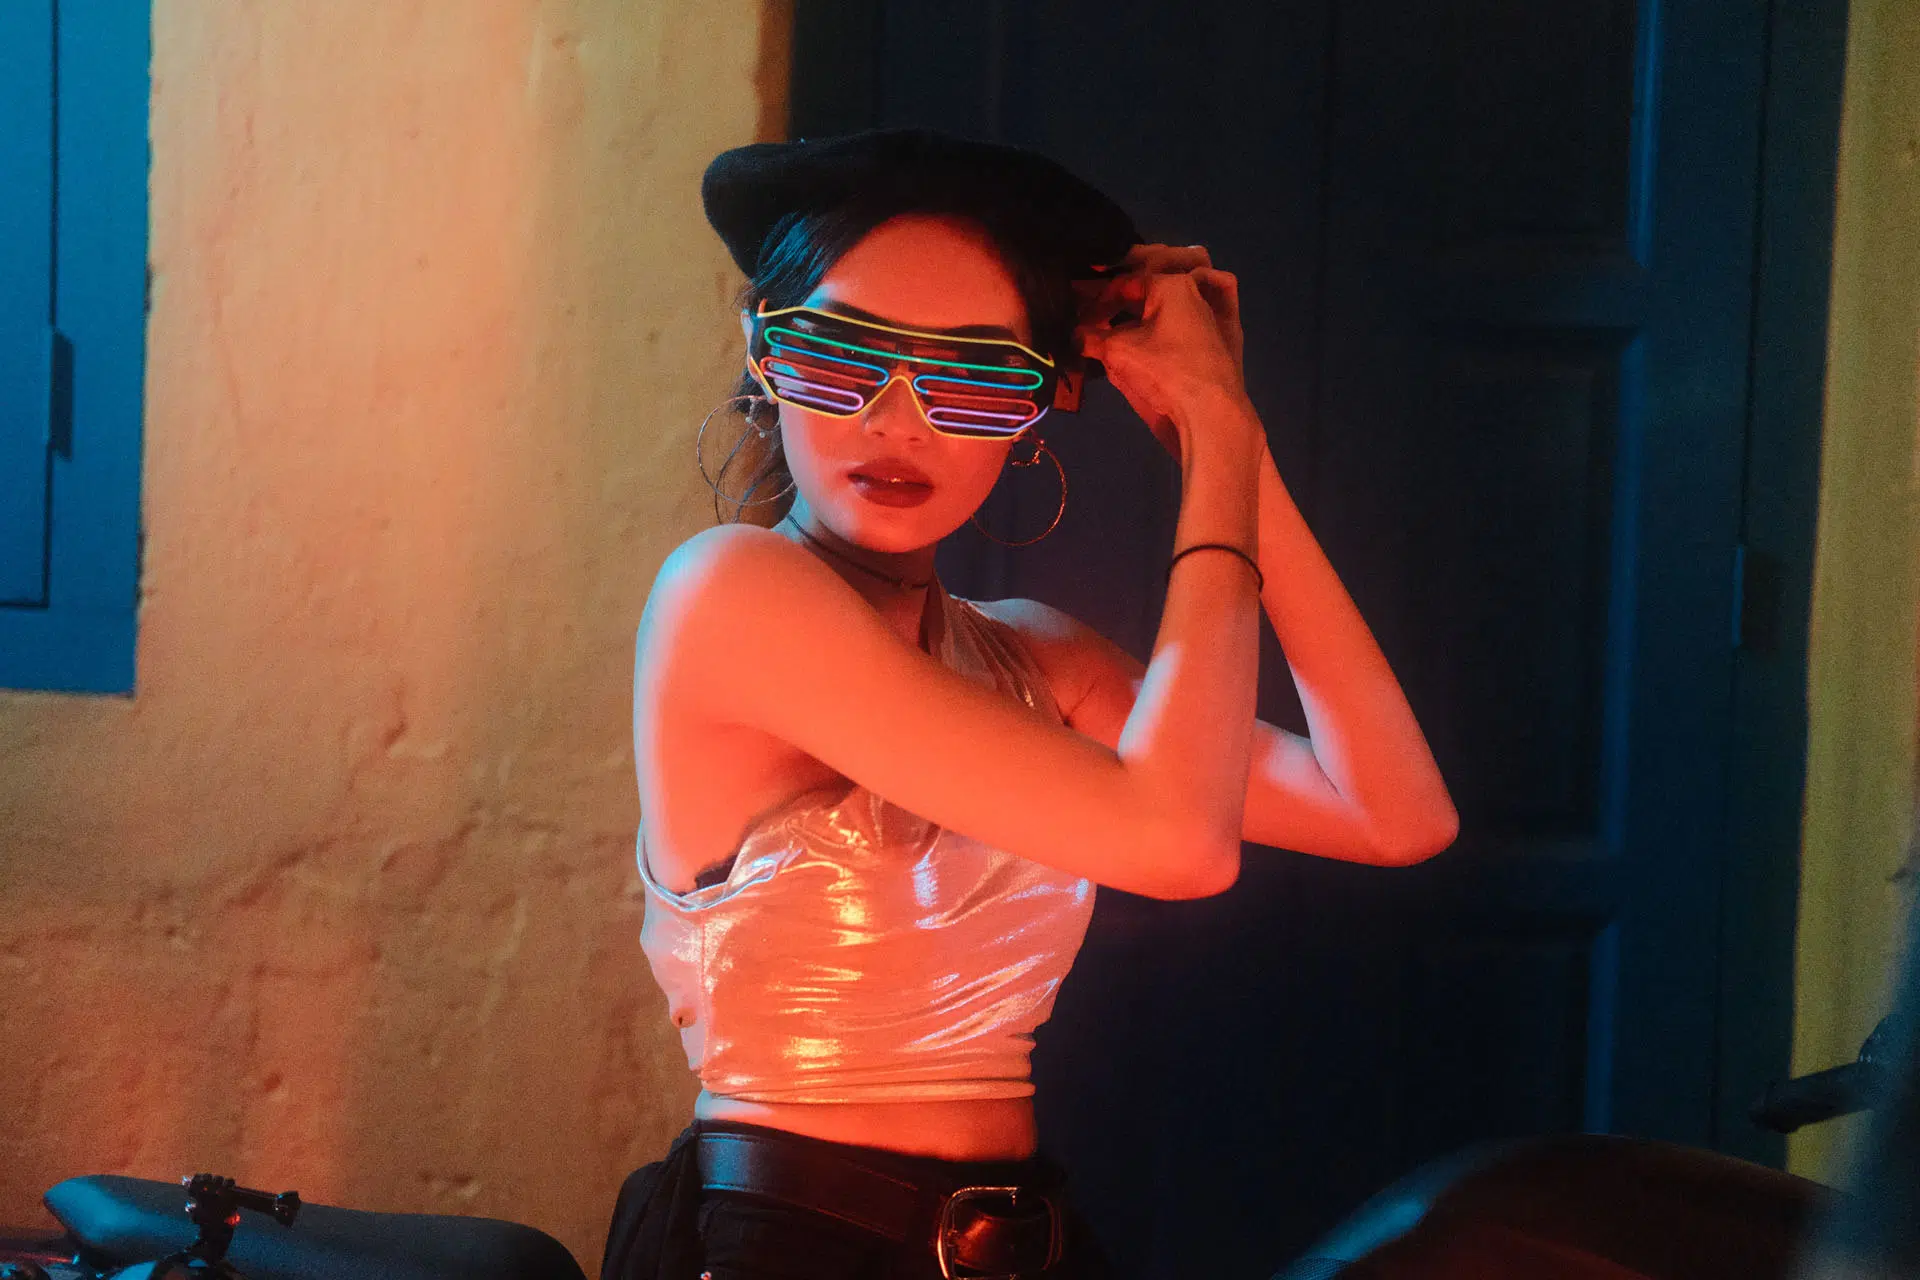
To get the best results with Cyberpunk Infinity Fujifilm low-light portrait simulation, shoot during blue hour, just after sunset, or in locations with bright neon or LED lighting. You’ll want lights that bounce or wrap around your subject—things like storefronts, RGB tube lights, or backlit panels.
Use a diffusion filter like the Tiffen Black Pro Mist 1/4 or Moment CineBloom 10%. It helps soften skin, adds that glowing halation around lights, and makes the clarity setting come alive.
Set ISO to Auto with a ceiling of 6400. Most Fujifilm X-Trans IV and V sensors handle this well. Keep your shutter speed at 1/125 or faster if your subject is moving. Apertures between f/1.4 and f/2.8 work best to capture that dreamy separation.
Try to shoot with tungsten or fluorescent white balance environments. This recipe uses WB: Fluorescent Light -3 with R+4, B-1 shift, which balances magentas and keeps cooler tints from overwhelming the image.
Exposure compensation can vary depending on your lights. If you want more bloom, slightly overexpose by +1/3. For a moodier feel, go with -1/3.
For cinematic cityscapes or landscapes, try my RetroVision 2049 or Wong Kar Wai-inspired Fujifilm recipes, such as Neon Obscura or Teal Obscure, for a more cinematic mood.
The Cyberpunk Infinity pack includes three hand-tuned variations built around the original Cyberpunk 2049 film recipe. Each version is crafted to enhance specific lighting moods and color conditions—so you can stay creative without diving into settings every time you shoot.
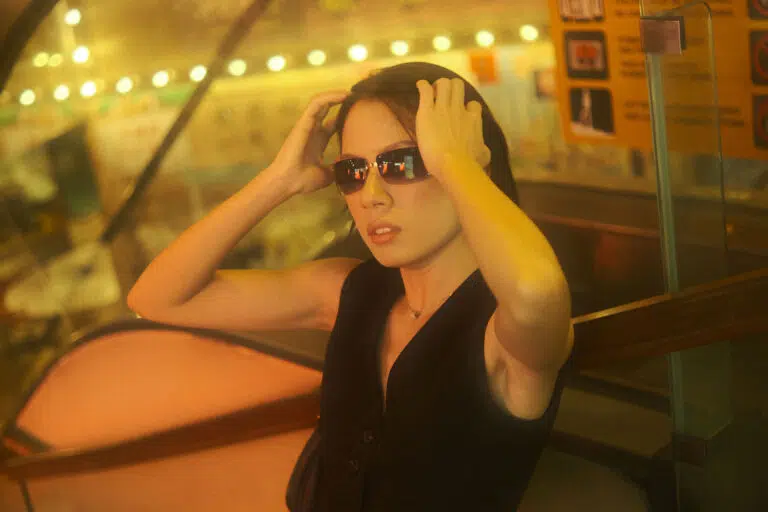
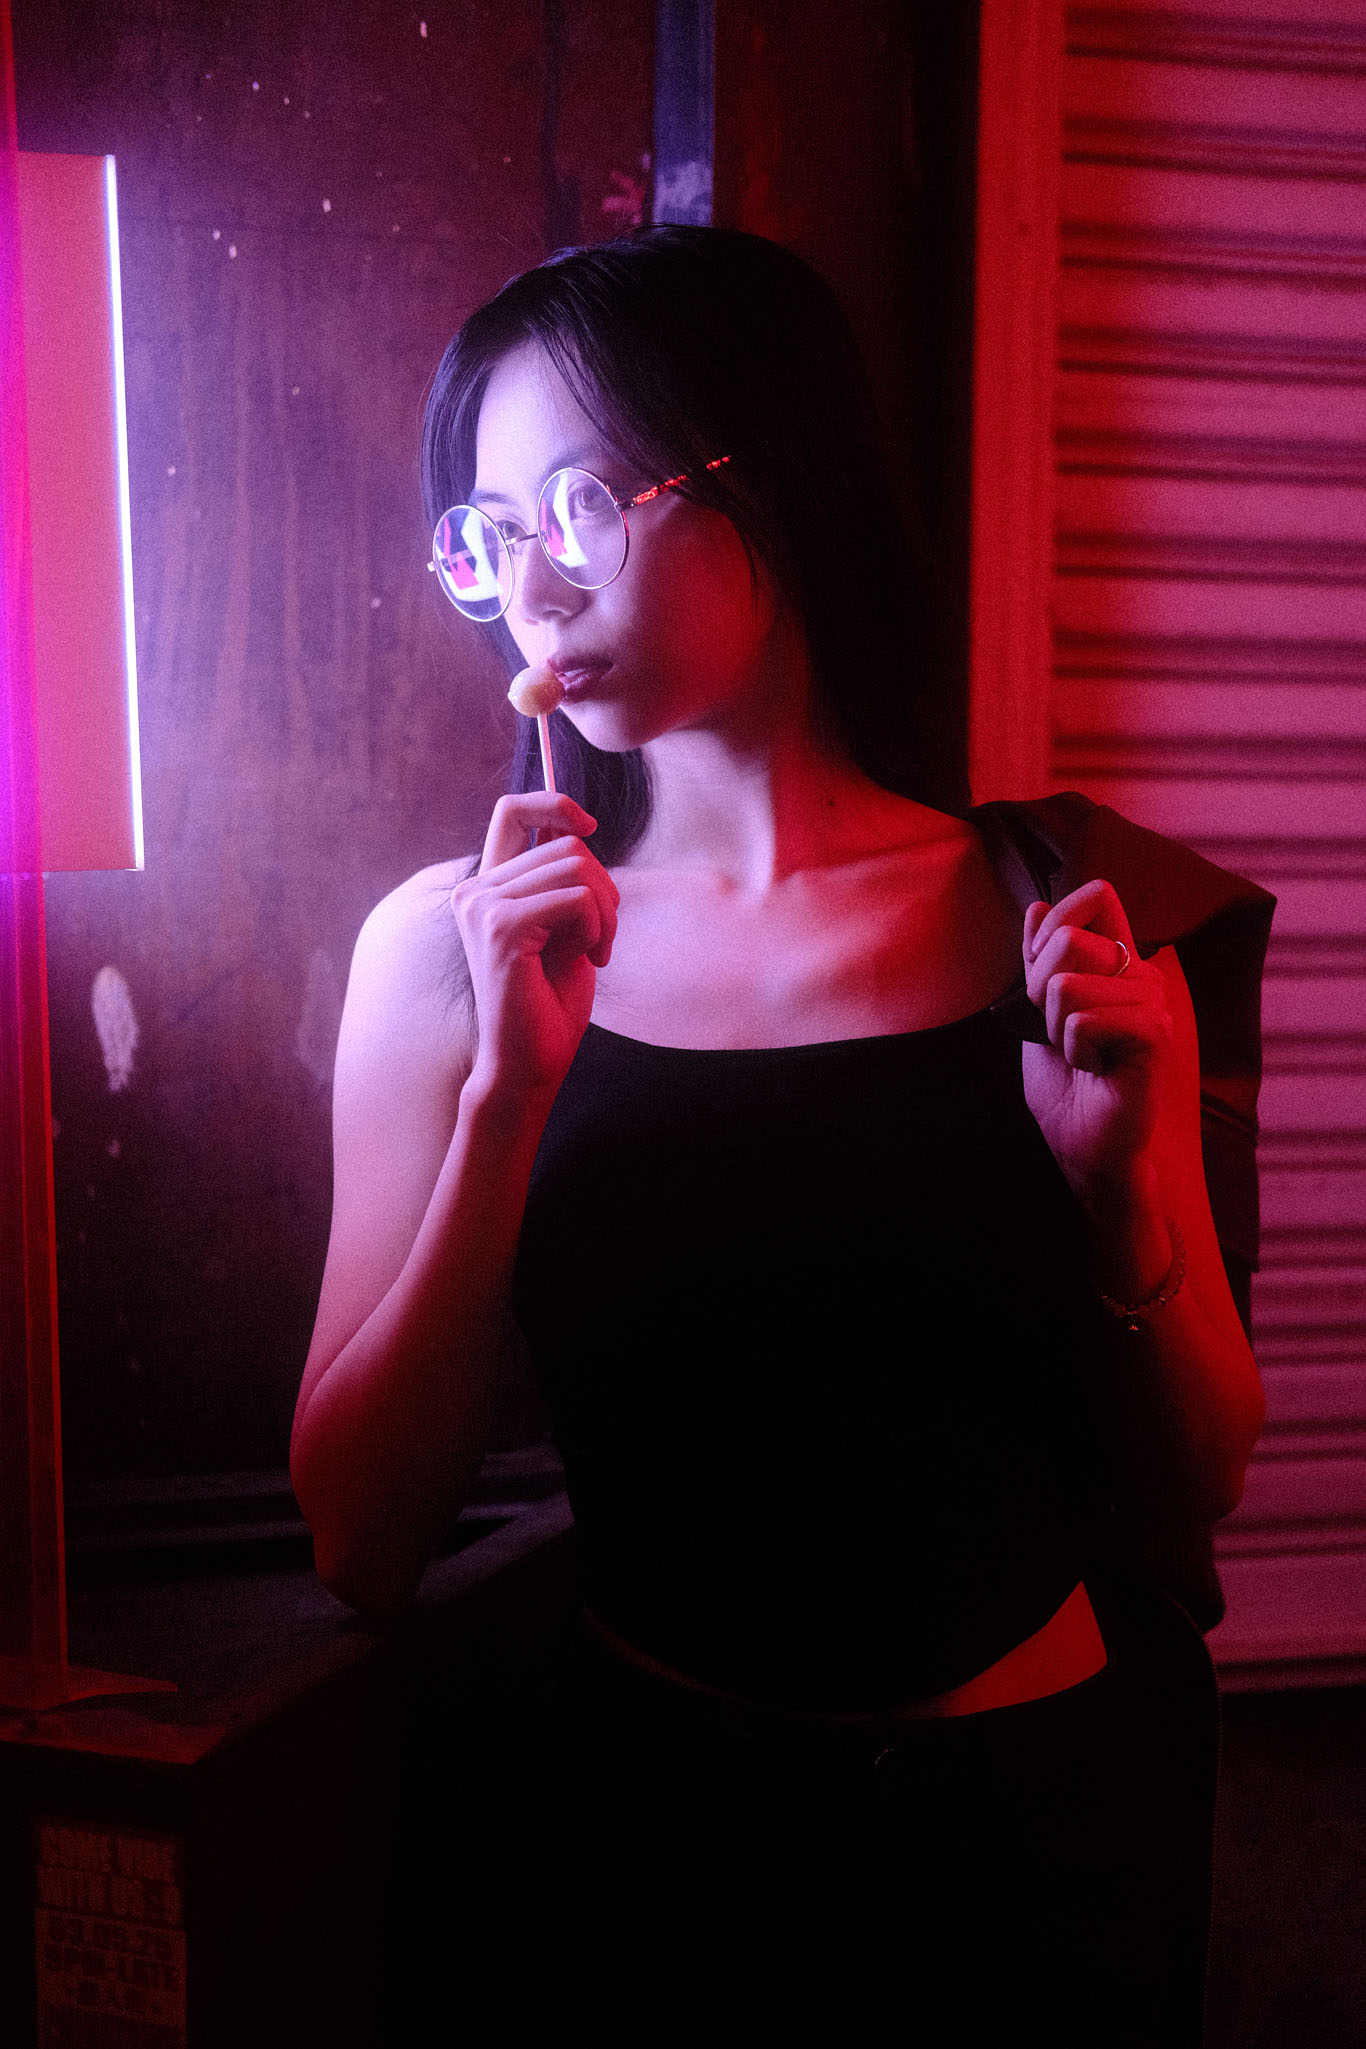
This is the default look—the core of the Cyberpunk Infinity neon portrait film recipe for Fujifilm. It leans into magenta and orange tones with soft contrast and blooming light. Ideal for portraits lit by pink neon, warm signage, or orange gels. Faces stay warm, dreamy, and cinematic.
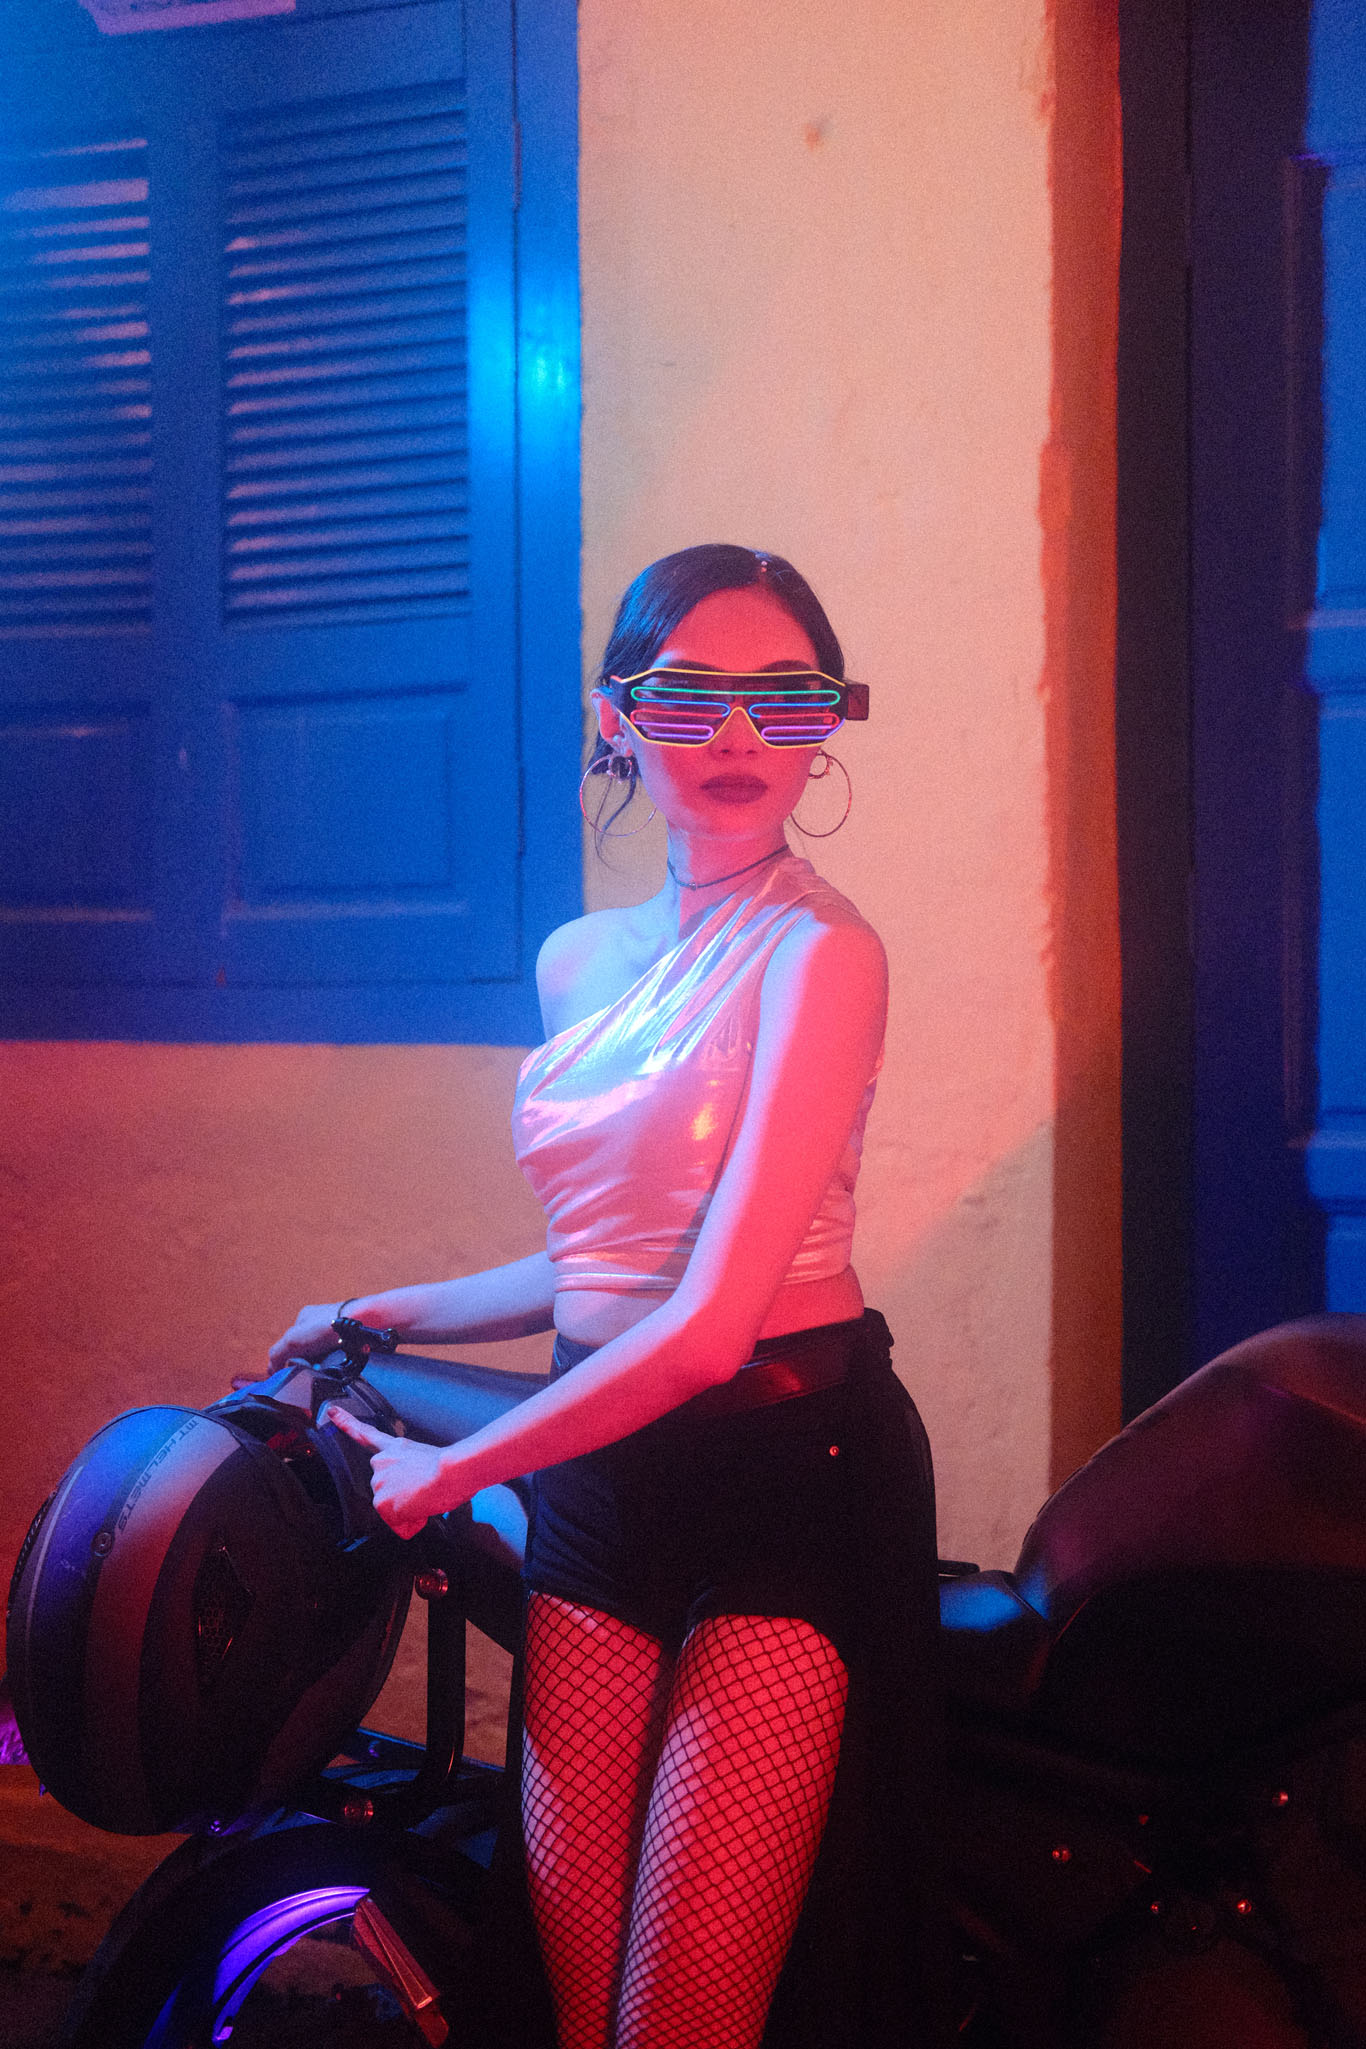
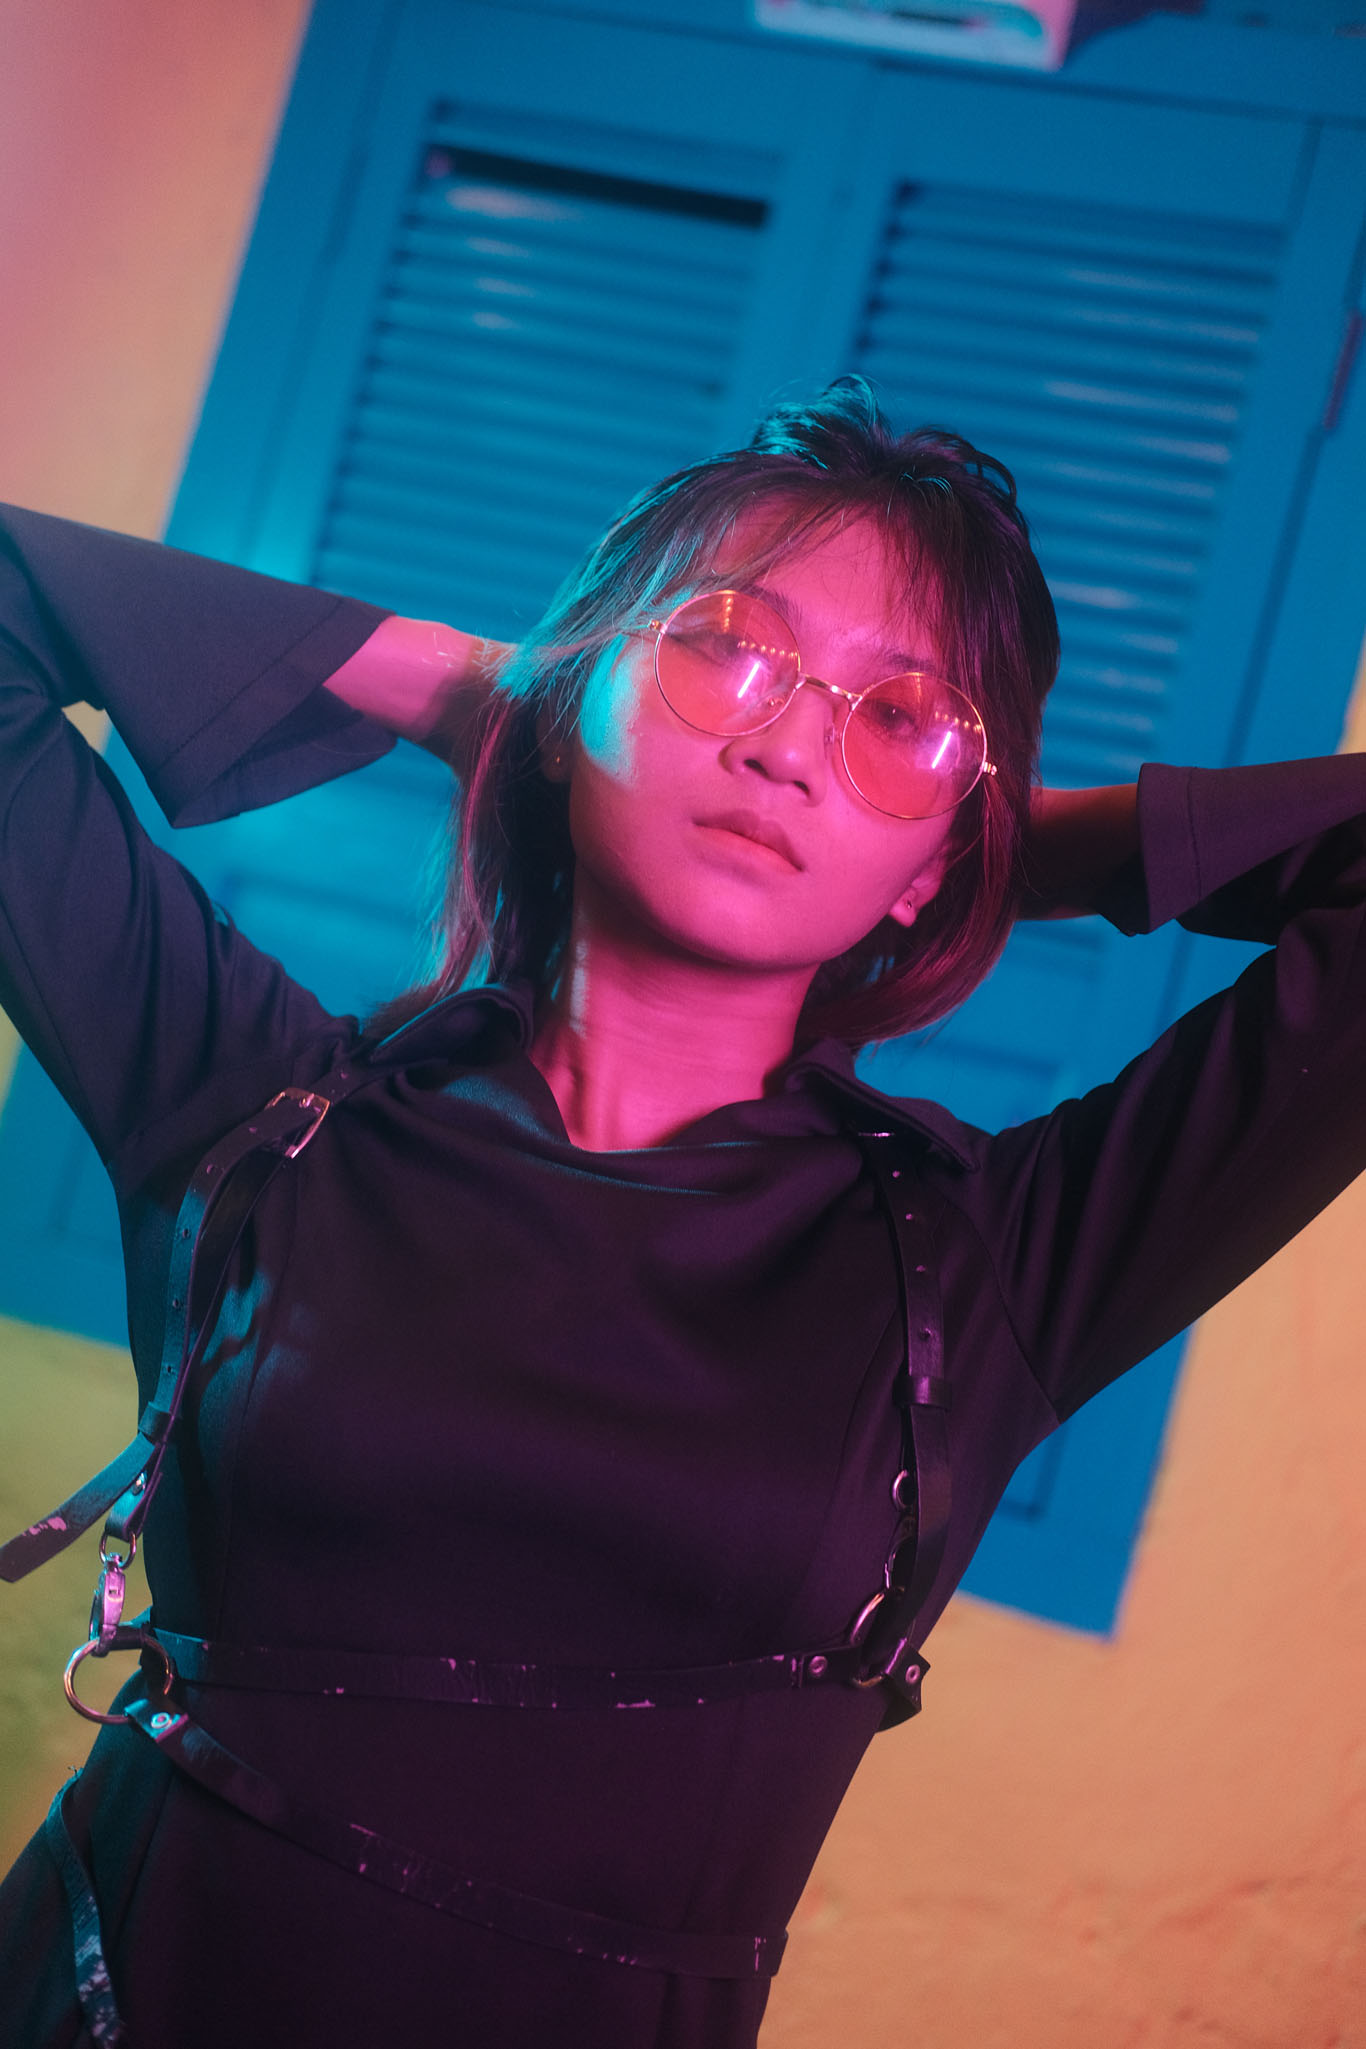
The teal cyberpunk film recipe for Fujifilm enhances the cool green-blue tones often found in futuristic cityscapes and LED signage. This version deepens teal shadows while still keeping skin tones natural. It’s perfect for alleyways, RGB strip lights, or portraits with mixed lighting that lean greenish-blue.
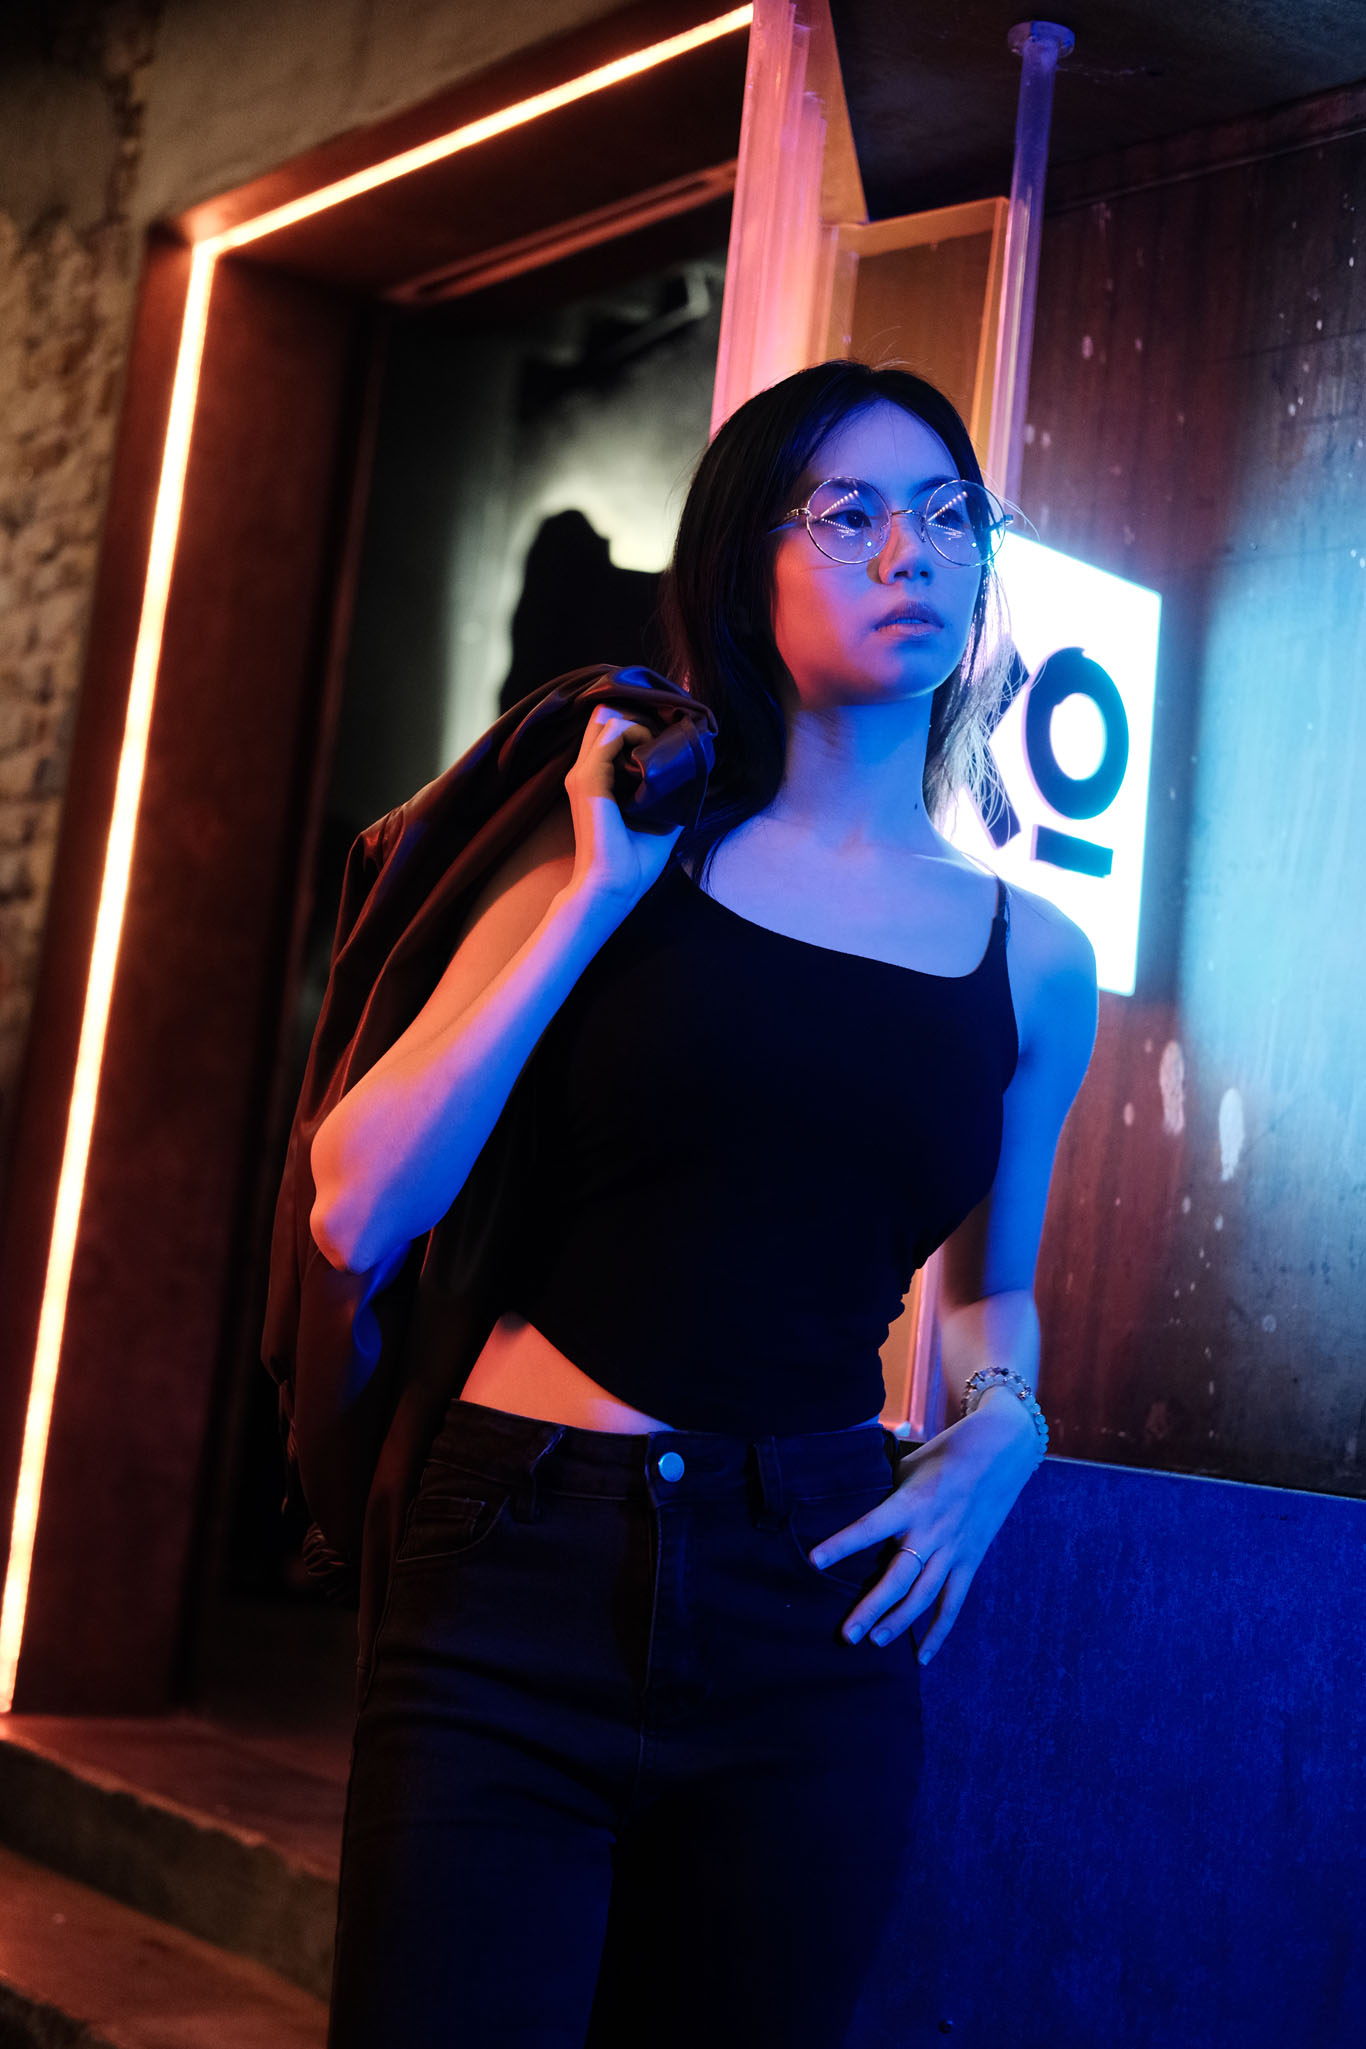
The blue variant for cyberpunk Fujifilm recipes is designed to soften intense cyan and blue light sources that can blow out highlights or make skin look cold. It pulls back just enough for a flattering balance while still keeping that sci-fi edge. Try it when shooting with harsh blue LEDs, aqua-lit storefronts, or strong blue gel lighting.
This recipe was created based on specific lighting conditions, so results may vary depending on your shooting environment, location, and available light sources. Experiment and adjust as needed to match your scene.
Cyberpunk Infinity isn’t just another cyberpunk film simulation recipe—it’s tuned specifically for portraits under neon and LED lights. If you’ve tried other Fujifilm recipes and felt the contrast was too heavy for faces, this one takes a softer path. It’s all about balancing those rich, futuristic colors with skin tones that still feel human.
What makes it work so well is how the settings interact in low light. Shadow is bumped to +1 to hold onto some detail in the darker areas, while Clarity is pulled back to -2 for that smooth, glowy finish. This softens light halos around signs and lamps, especially when paired with a 1/4 or 1/8 diffusion filter. Color is pushed to +3 to boost those teal-magenta tones that give cyberpunk portraits their pop, and Pro Neg Hi was chosen for its gentle roll-off in highlights and more accurate skin rendition compared to Classic Chrome or Classic Neg.
This neon portrait film recipe for Fujifilm shines in places like street markets, arcades, rooftop bars, or anywhere RGB lights are bouncing off glass and skin. Whether you’re shooting futuristic cosplay, nightlife scenes, or cinematic portraits with a sci-fi twist, Cyberpunk Infinite delivers that stylized look without going too hard on the grit.
Want that Blade Runner feel, but still need your subject to look good? These are the best Fujifilm film simulation settings for a cyberpunk look that feels atmospheric and portrait-friendly at the same time.
Note: The Fujifilm film simulation recipes shared on this website are based on personal experience and experimentation. These settings are designed to mimic the look of various film stocks but are not exact replications. Film characteristics vary based on factors such as lighting, lens choice, and camera model. Results may differ depending on individual shooting conditions and preferences. Use these recipes as a creative starting point and adjust them to suit your style. This content is not affiliated with or endorsed by Fujifilm or Kodak. Some links on this page may be affiliate links, which help support the site at no extra cost to you.
Curated Camera Gear & Vinyl Records