Fujifilm’s film simulations are famous for their photo aesthetics. But you can also use Fujifilm Film Simulations for Video, and it’s easier than it sounds. While not all settings carry over, most of the important ones—like tone, color, and white balance shift—are still available when recording video. This means you can give your clips a unique style straight from the camera without heavy editing. Fujifilm video film simulations bring the same character and mood you’d expect from stills, but applied directly to your moving footage.
This post explains how to build or save your own custom Fujifilm video film simulations using custom movie settings. Whether you’re aiming for cinematic Eterna or gritty Classic Chrome, this guide will show you how to dial it in. You can also find pre-made movie recipes on ShutterGroove if you want to start with something tested.
Using Fujifilm Film Simulations for Video Mode
You can apply Fujifilm Film Simulations for Video just like you do in photo mode. The difference of film simulation recipes and video recipes is that some features—like grain and clarity—are disabled during video recording. Still, the simulation itself and settings like tone, color, and white balance shift give you plenty of creative control.
To get started, open the movie settings menu in your Fujifilm camera. Select your base Fujifilm film simulation for video recording and then adjust the rest of the settings in the same section. These changes only affect video, so your photo recipes stay safe.
Creating a Custom Look with Fujifilm Film Simulations for Video
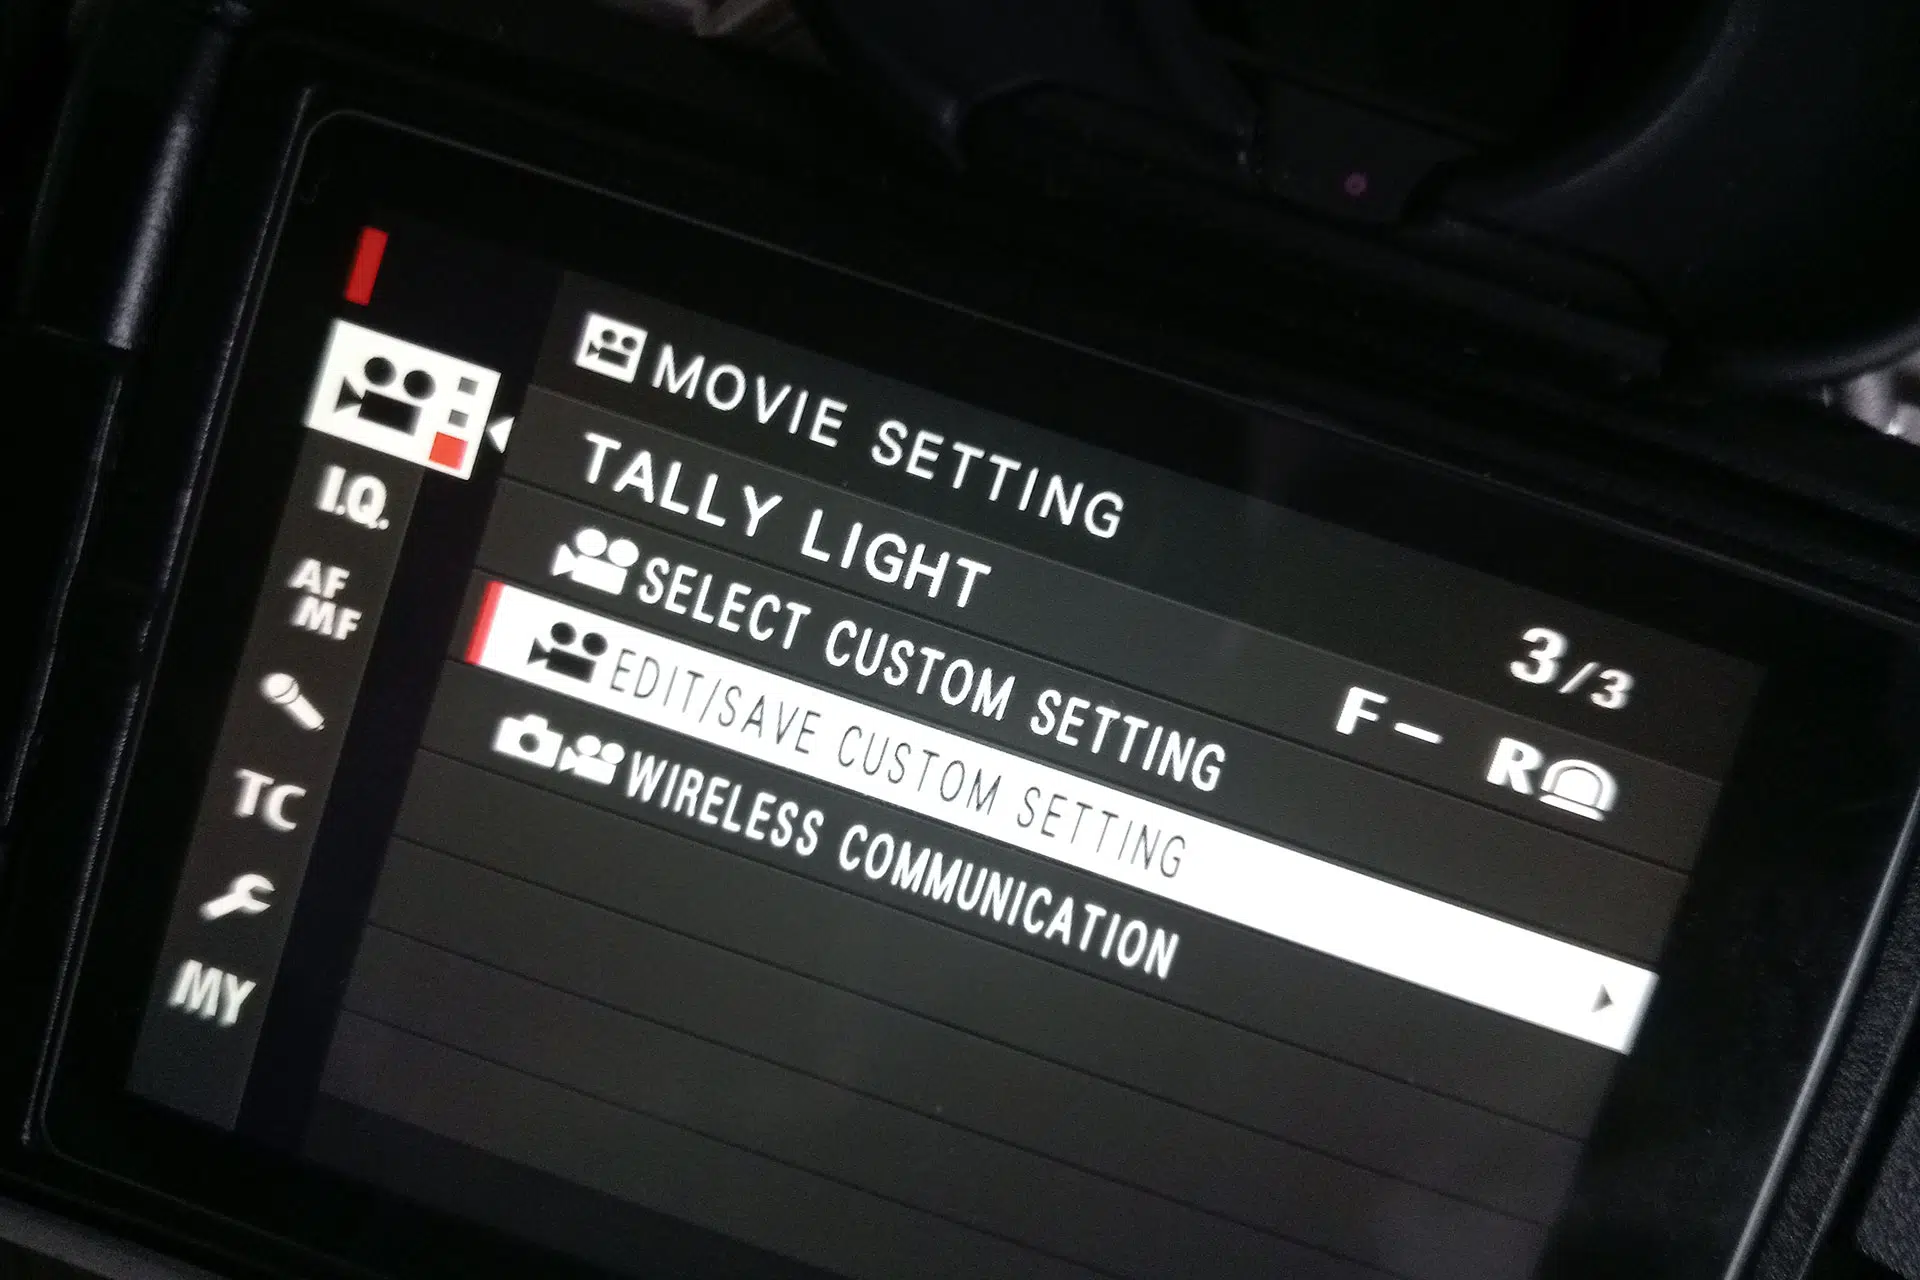
Step 1
Go to Menu > Movie Setting > Edit/Save Custom Setting
Step 2
Choose your slot from C1 to C7
Step 3
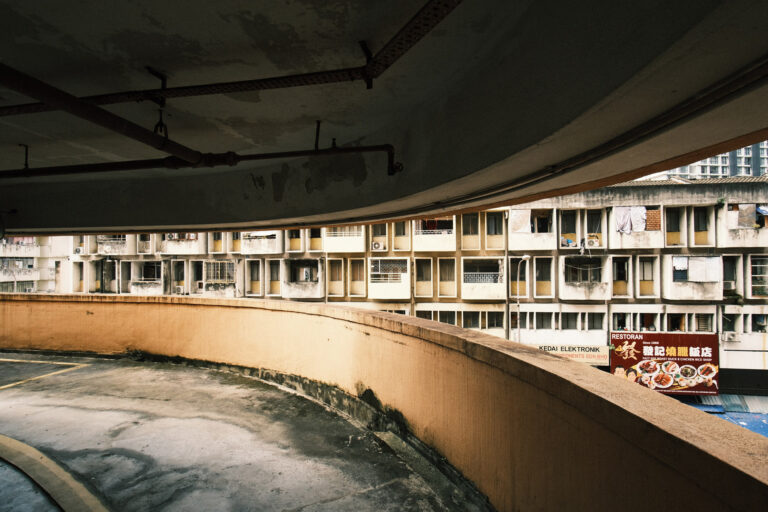
Pick a film simulation that fits your style. Eterna works great for cinematic shots with soft contrast and muted tones. It’s often the go-to for short films or moody sequences. Classic Chrome gives a gritty, documentary feel that suits street videos and travel footage. For interviews or skin tones, Pro Neg Std is a clean, neutral base that handles color naturally.
Once you’ve picked your base, you can start customizing and programming your Fujifilm custom film simulations for video with these core settings:
Highlight Tone: Controls how bright areas look. Lower values flatten highlights; higher values add punch.
Shadow Tone: Adjusts the depth of shadows. Raise it for deeper blacks, lower it for a softer roll-off.
Color: Changes saturation. Lower it for a soft, natural look; raise it for vivid, punchy colors.
Sharpness: Keep it low. Fujifilm lenses are sharp, and low sharpness helps keep an organic look.
Noise Reduction: Usually better kept low to preserve detail and maintain a film-like texture.
White Balance Shift: Adjust the mood by pushing toward red for warmth or blue for coolness.
Step 4
These settings form the heart of your Fujifilm Film Simulations for Video recipe. Save them as a custom movie profile in your camera to recall your favorite looks anytime. For ready-made setups, check out the full list of movie recipes on ShutterGroove—I’ve built specifically for Fujifilm video shooters.
Saving It As a Preset

After you’ve customized your Fujifilm Film Simulations for Video, save them into one of the camera’s custom movie slots (C1–C7). Name each slot to match the vibe, like “Super 8”, “Eterna Sunset” or “Chrome Street.” This way, switching between your favorite Fujifilm film simulation video presets is fast and stress-free.
Going Deeper with F-Log and LUTs
If you want more flexibility with color grading after shooting, try Fujifilm’s F-Log or F-Log2. These profiles give you more dynamic range but don’t bake in looks. You’ll need to grade footage later using software like DaVinci Resolve or Premiere Pro.
To match your favorite Fujifilm Film Simulations for Video in post, you can use LUTs designed to mimic those film looks. Plenty of free and paid LUTs are available online, and some even recreate Kodak, Agfa, or CineStill stocks.
Recommended Accessories For Fujifilm Film Simulations for Video
To get the most from Fujifilm Film Simulations for Video, some accessories make a big difference. A variable ND filter is essential for controlling exposure without messing with shutter speed or aperture. This keeps your footage looking cinematic outdoors.
Sound matters too. Fujifilm’s built-in mics are okay for quick clips, but for serious video, an external microphone is key. Compact shotgun mics work great for run-and-gun shooting, while lavalier mics are better for interviews.
Keeping your footage steady is crucial. Use a small tripod, mini rig, or grip handle to avoid shaky shots. For longer shoots, a USB-C power bank helps if your camera supports charging while recording.
Finally, use fast UHS-II SD cards for smooth recording, especially in 4K or with All-Intra compression. Slower cards risk dropped frames or errors.
These simple tools will help your Fujifilm Film Simulations for Video look their best and make your workflow smoother.
Final Thoughts
You don’t need professional color grading skills to get a great look using Fujifilm Film Simulations for Video. With the right simulation and a few simple tweaks, you can create your own custom style that looks amazing straight out of the camera. Saving your favorite looks into custom slots makes switching styles quick and easy.
Whether shooting travel videos, vlogs, or cinematic projects, these best Fujifilm film simulations for video creators recipes give you a strong starting point. For more options and downloadable LUTs, check out the ShutterGroove movie recipes and grab what fits your style.